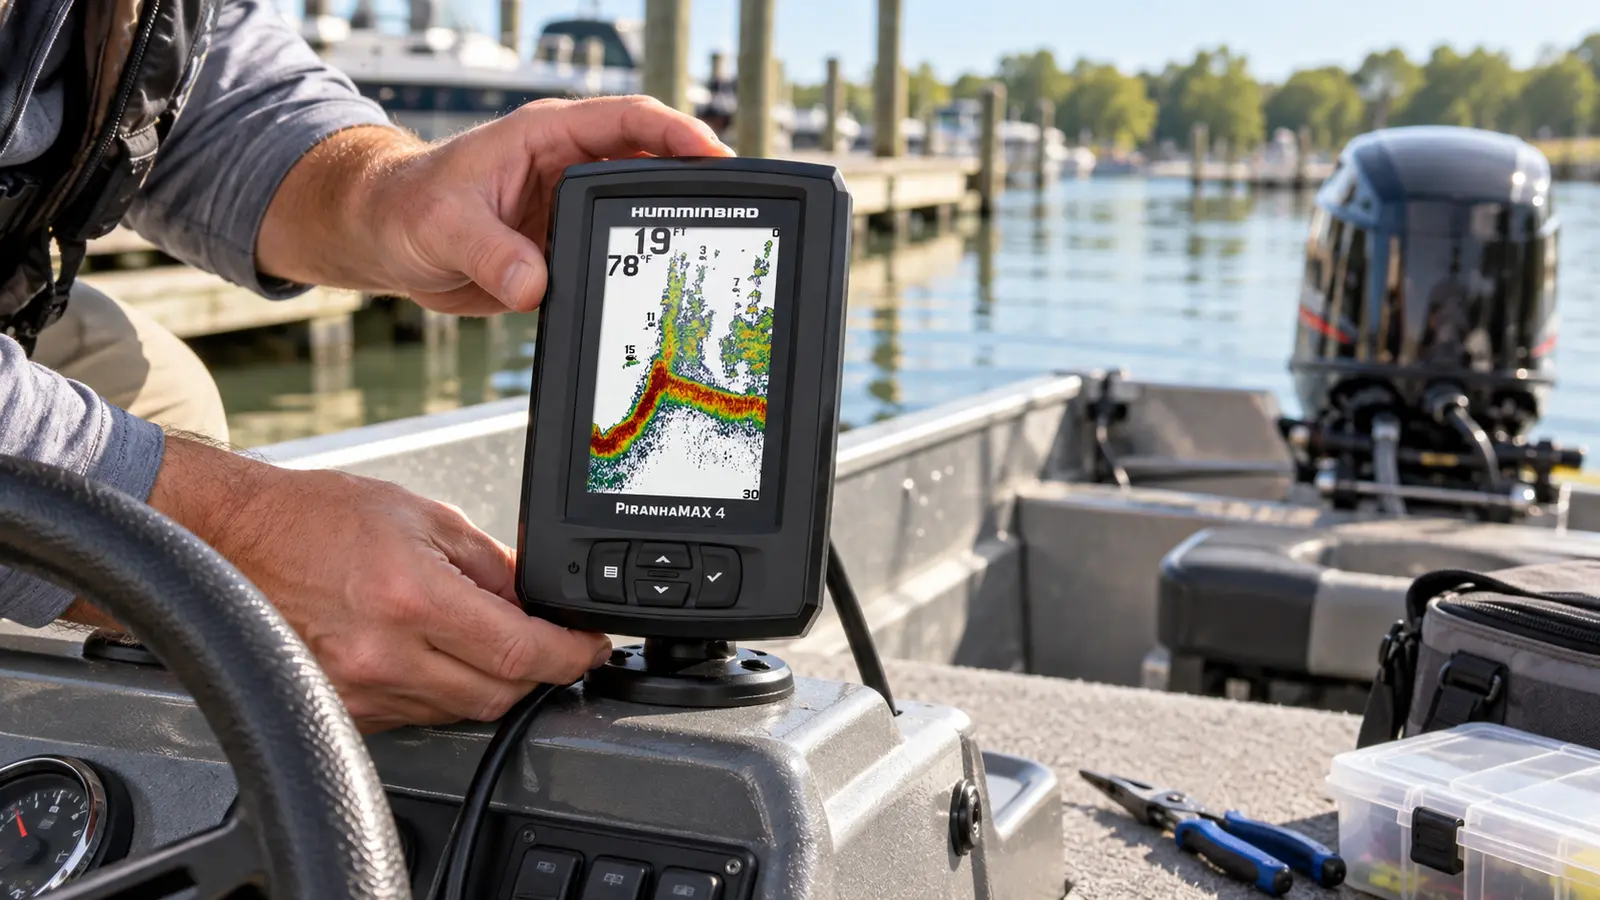
Editorial installation scene. Use the Humminbird guide for your exact package and your boat builder's instructions before drilling or connecting power.
To install a Humminbird PiranhaMAX 4, first confirm whether you have the standard model or the PiranhaMAX 4 DI and identify the transducer supplied with it. Mount the display where you can see and reach it, place the transom transducer in smooth water flow with a clear downward view, protect and support both cables, connect power exactly as the manual specifies, then test the sonar in the water before locking the final transducer position.
Installation sequence
- Identify the exact control head, transducer and installation manual.
- Dry-fit the display and check visibility, reach, tilt and cable clearance.
- Select a transom location with smooth water flow and a clear view below.
- Follow the supplied template and hardware instructions. Seal penetrations using the boat builder's approved method.
- Route the transducer cable without cutting it, crushing it or placing it near moving and high-current equipment.
- Connect the power lead with the specified polarity and overcurrent protection.
- Test at low speed in water, adjust in small steps and finish the mount only after performance is confirmed.
Confirm the standard or DI package first
The two PiranhaMAX 4 packages look similar at the display, but the included transducers and sonar capabilities differ. The standard PiranhaMAX 4 is paired with the XNT 9 28 T transom-mount transducer. The PiranhaMAX 4 DI uses the XNT 9 DI T and adds Down Imaging. Read the label near the connector end of the cable and compare it with the package documentation before mounting anything.
| Package | Included transducer | Installation point |
|---|---|---|
| PiranhaMAX 4 | XNT 9 28 T | Permanent transom mounting is the normal supplied setup |
| PiranhaMAX 4 DI | XNT 9 DI T | Keep the DI element unobstructed and use the DI installation instructions |
Affiliate disclosure: If you buy through the Amazon link below, BoatOwner Hub may earn a commission at no extra cost to you. Product identity and package details were checked from published sources; this is not a hands-on test.
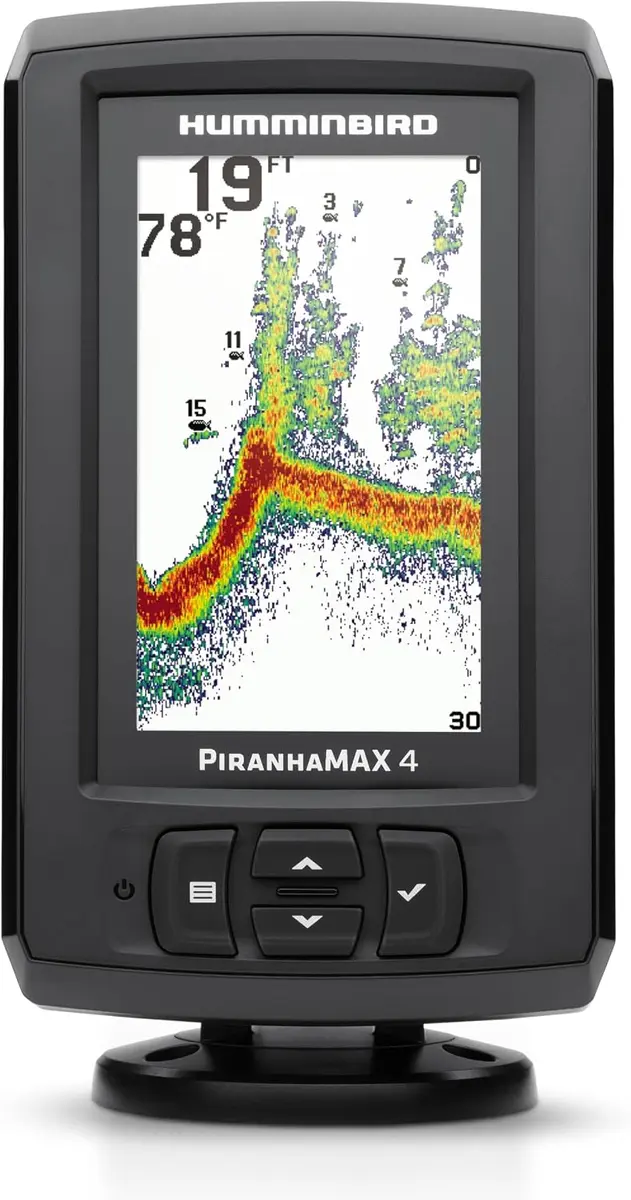
Verified standard package image. The image is not a purchase link.
Humminbird PiranhaMAX 4, model 410150-1
Useful for: Small fishing boats where a compact traditional-sonar display and the included transom transducer fit the helm and hull.
Package benefit: The verified standard package includes the XNT 9 28 T transom transducer used throughout this installation guide.
Main limitation: This standard model has no GPS, charts or Down Imaging. The separate DI package uses a different transducer.
Check availability on AmazonConfirm item 410150-1 and the included transducer before checkout.What to prepare before installation
Use the exact installation guide to set the tool and hardware list. A typical transom installation may call for the supplied bracket and fasteners, a drill and correctly sized bits, a level, pencil, tape, cable supports and a marine sealant approved by the boat builder for the hull material. Do not substitute fasteners or sealant merely because they fit.
- Disconnect or isolate boat power as the manuals require.
- Confirm there is no tank, wiring, hose, structural member or other equipment behind every proposed hole.
- Check that the display and transducer plugs can reach their destinations without tension.
- Make sure the boat can still be trailered, trimmed and steered without striking the transducer or pulling a cable.
Choose and mount the display location
The control head should be readable from the normal operating position and reachable without leaving the helm. Dry-fit the tilt mount before drilling. Move the unit through its adjustment range and confirm that the power and transducer connectors have room behind the display.
Avoid a position where the screen blocks gauges, controls or forward visibility. Keep the mount clear of standing water, repeated impact and places where a person will use the display as a handhold. The standard PiranhaMAX 4 does not include built-in GPS, so it does not require a sky view for navigation reception.
Select the transducer position
The supplied transducer needs direct contact with water and smooth flow across its face. Turbulence and bubbles can weaken the bottom return, especially as speed increases. Examine the transom while considering strakes, steps, rivets, drains, speed sensors, propeller flow and the trailer.
- Choose a flat area with clean water flow and an unobstructed downward view.
- Keep the transducer where it will not be struck by bunks, rollers, lifting equipment or normal loading.
- Follow the manual's side-of-transom, height, angle and setback guidance for your motor arrangement.
- For the DI model, do not use a shoot-through-hull shortcut because Down Imaging requires its approved mounting arrangement.
No universal measurement fits every hull. If the boat has a stepped hull, inboard motor, unusual trailer or persistent aerated flow, ask the boat builder or a qualified marine installer to confirm the location.
Attach the transom bracket carefully
- Hold the template or bracket at the chosen position and check level, clearance and access.
- Mark only after confirming what is behind the transom.
- Drill pilot holes to the size and depth specified in the installation guide. Protect the hull structure and core.
- Seal every penetration using the boat builder's approved material and method.
- Install the bracket so adjustment remains possible. Do not force or over-tighten fasteners.
- Set the transducer angle and height to the manual's starting position.
Humminbird recommends testing the transom installation before adding the third mounting screw. That leaves room for small height or angle changes after the first in-water run.
Route the transducer and power cables
Plan both routes before securing either cable. Keep connectors clean and dry during the work. Support cables at reasonable intervals, allow a service loop at the display and protect them where they pass near an edge or opening.
| Do | Avoid |
|---|---|
| Use existing chases where they are suitable and accessible | Cutting or splicing the transducer cable |
| Protect cables from chafe, heat and moving parts | Tight bends, pinched sections and tension at connectors |
| Separate sensitive sonar cable from high-current wiring where practical | Routing beside ignition, trolling-motor or charging conductors without guidance |
| Leave enough movement for tilt, steering and normal service | Loose cable near the propeller, controls or hinges |
Connect power without guessing
Use the supplied power cable and the polarity, conductor, fuse and connection method specified in the PiranhaMAX 4 installation guide. Do not copy a fuse size or wire extension from another fish finder. If the cable must be extended, follow the manufacturer's conductor and connection guidance for the total run.
Make connections with power isolated. Use marine-rated components suited to the location, support the wiring and keep terminals protected from short circuits and corrosion. If you cannot identify the correct distribution point or overcurrent protection, use a qualified marine electrician.
Connect the unit and complete the first start
Seat the transducer and power plugs in the correct ports without forcing pins. Recheck the cable paths and restore power only after the mechanical installation is secure. Start with the default sonar settings and the correct operating mode from the product manual. A clear depth number and bottom return can only be evaluated with the transducer submerged.
Test and adjust the installation in the water
Humminbird's transom-test procedure starts with the boat in water deeper than 2 feet and within the unit's depth capability. Sonar cannot pass through air, so a trailer test cannot prove that the transducer works correctly.
- At rest, confirm a digital depth reading and a visible bottom return.
- Move at idle speed and confirm the reading remains stable.
- Increase speed gradually in safe water while watching the bottom return.
- If the unit reads at low speed but loses the bottom as speed rises, return to idle and adjust the transducer in small steps.
- Repeat until the practical performance is stable for your hull and operating conditions.
- Install the final mounting screw only after the position is confirmed.
Common installation problems
| Symptom | First checks |
|---|---|
| No power | Battery condition, polarity, specified fuse, fuse holder, connection security and cable damage |
| No depth at the dock | Transducer fully submerged, correct connector, intact pins and cable, sonar enabled and water deeper than 2 feet |
| Works slowly, loses bottom at speed | Turbulence, transducer height, angle and whether the bracket has kicked up |
| Erratic reading | Air bubbles, nearby sonar interference, cable routing, marine growth and incorrect settings |
| DI view missing | Confirm the unit and transducer are the DI package and the XNT 9 DI T is connected |
Do not diagnose a damaged cable by repeatedly bending or splicing it. Humminbird recommends checking the connector pins and cable for visible damage, then contacting support if the documented checks do not solve the problem.
Should you install this model on your boat?
This guide assumes you already own the unit. If you are still deciding, the complete Humminbird PiranhaMAX 4 review explains the standard and DI versions, the lack of built-in GPS, package checks, fit and limitations.
Read the complete PiranhaMAX 4 review
For other models and features, use the fish finder selection guide or compare three published fish finder reviews.
Humminbird PiranhaMAX 4 installation questions
How do you install a Humminbird PiranhaMAX 4?
Mount the display where it is visible and reachable, install the correct transducer in smooth water flow, route the transducer and power cables safely, connect power exactly as the manual specifies, then test and adjust the transducer with the boat in the water.
Which transducer comes with the Humminbird PiranhaMAX 4?
The standard PiranhaMAX 4 uses the XNT 9 28 T transom-mount transducer. The PiranhaMAX 4 DI package uses the XNT 9 DI T. Confirm the label on your transducer and package before drilling or routing cables.
Can you test a PiranhaMAX 4 transducer out of the water?
No. Humminbird states that sonar cannot pass through air. Complete the functional depth and bottom test with the transducer submerged and the boat in water deeper than 2 feet, within the unit's operating capability.
Where should the PiranhaMAX 4 transducer be mounted?
For the supplied transom transducer, choose a location with smooth water flow, a clear downward view and enough clearance from turbulence and potential trailer or impact damage. Use the model-specific installation guide because hull, motor and trailer layouts differ.
Can the PiranhaMAX 4 DI use an in-hull installation?
Humminbird's current installation overview says in-hull mounting is for compatible 2D transducers in suitable single-layer fiberglass hulls and is not compatible with Down Imaging models. Use the supplied transom mount or a manufacturer-approved alternative for the DI model.
What should you do if depth disappears at higher speed?
If the unit reads at low speed but loses the bottom as speed rises, Humminbird says the transducer installation may need adjustment. Make small changes, retest in the water and install the final mounting screw only after the position is confirmed.
Sources and editorial method
BoatOwner Hub checked this guide against current Humminbird support material on October 15, 2026. The article explains the installation sequence but does not replace the product manual, transducer guide, boat builder instructions or professional inspection.
- Humminbird Installation Overview
- Testing Your Transom Mounted Transducer Installation
- Humminbird Transducer Compatibility
- Humminbird Transducer Troubleshooting