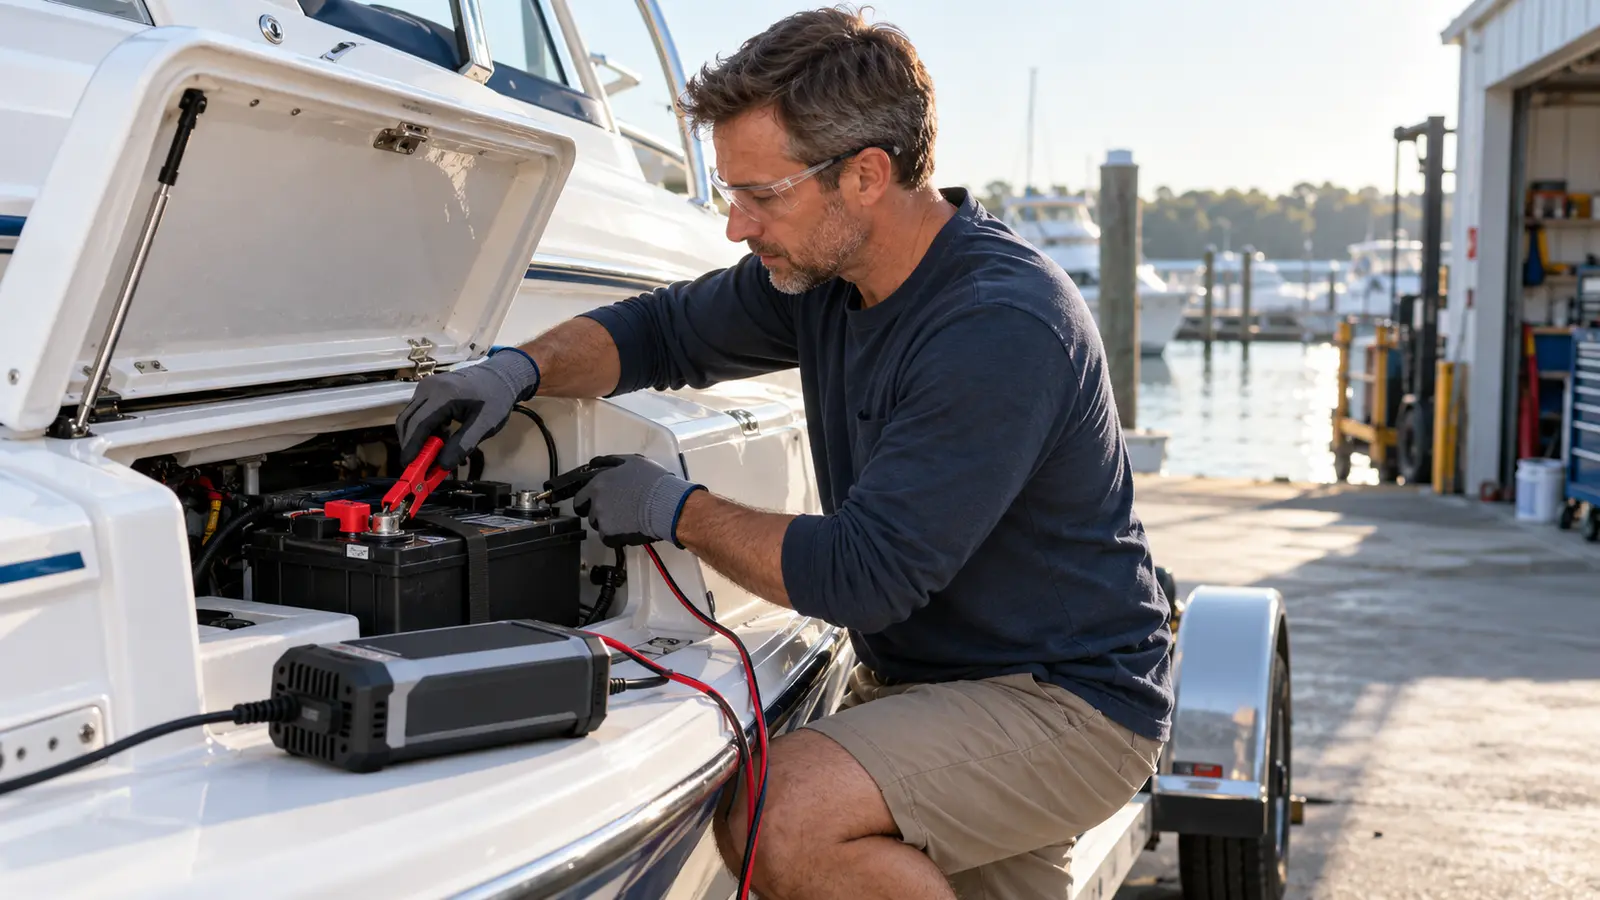
The correct charging procedure starts with identification. A flooded lead-acid, AGM, gel or lithium battery may require a different profile, voltage limit or temperature behavior. “12-volt charger” alone is not enough information.
1. Identify the battery and its job
Read the battery label for chemistry, nominal voltage and capacity. Confirm whether it is a starting, deep-cycle or dual-purpose battery. If the label is missing or unclear, do not guess at the charging profile.
2. Choose a compatible charger
The charger must support the battery chemistry, system voltage and appropriate charging current. A smart marine charger may control charge stages automatically, but its battery-type setting still needs to be correct. Lithium batteries require a charger and battery-management arrangement approved by the battery maker.
3. Inspect the installation
- Turn off loads and follow the boat’s isolation procedure.
- Look for damage, leaks, loose hold-downs, corrosion and overheated cable insulation.
- Confirm the compartment has the ventilation required by the battery and boat manufacturer.
- Do not charge a visibly damaged or frozen battery.
4. Connect in the specified sequence
Keep the charger unplugged or switched off while making connections unless its manual says otherwise. Confirm polarity before attaching leads: positive to the correct positive point and negative to the specified negative or ground point. The exact connection location can differ for batteries installed in a boat, so use the charger and vessel instructions. Then energize the charger and select the verified battery profile.
5. Monitor the charge
Do not cover the charger or block ventilation. Watch for excessive heat, odor, swelling, sparking, repeated charger faults or a battery that will not progress normally. Stop and disconnect using the manual’s sequence if anything appears unsafe.
6. After charging
- Switch off or unplug as directed before removing portable-charger leads.
- Remove connections in the manufacturer’s stated order.
- Reinstall terminal protection and confirm the battery is secured.
- If the battery soon goes flat again, troubleshoot the battery, charging source and unwanted loads rather than repeatedly charging it.
Does the boat charge the battery while running?
Many engines charge a starting battery while running, but output and wiring vary. Short runs or large house loads may not restore a deeply discharged battery. Verify charging voltage and current against the engine manual instead of assuming runtime equals a full recharge.