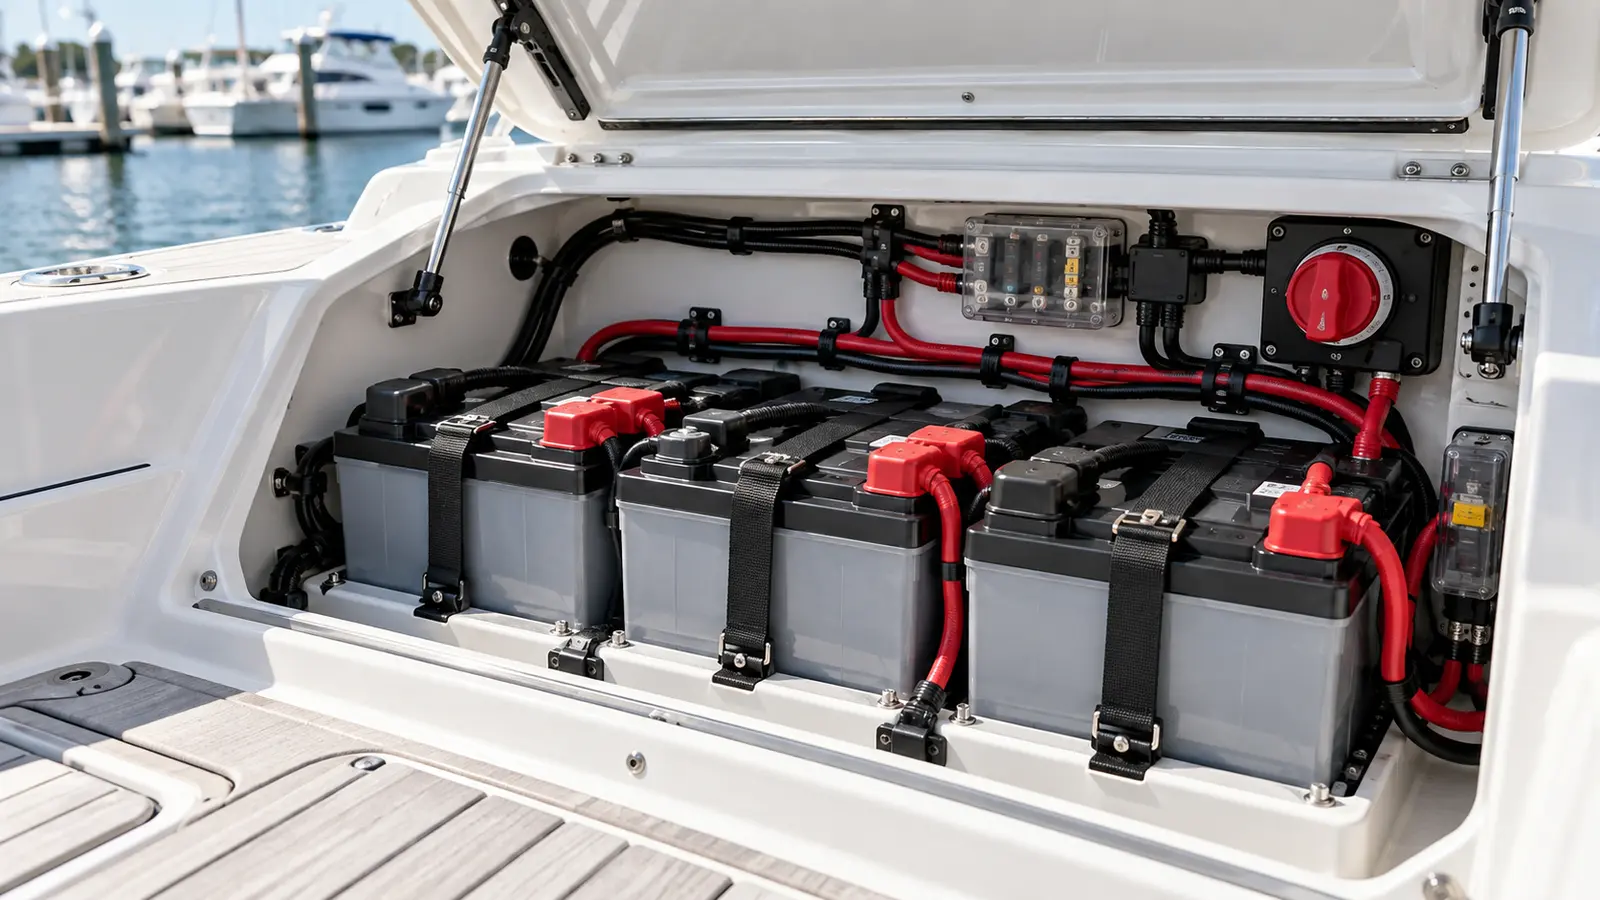
A boat battery that repeatedly goes flat is a symptom, not a diagnosis. The battery may have lost capacity, but the same symptom can come from incomplete charging, voltage loss at a connection, equipment that remains powered or a bank that is too small for the loads.
Quick answer
Inspect for damage first. Then identify the battery and its job, fully charge it with compatible equipment, test its condition, inspect connections, verify charging performance and only then investigate key-off electrical draw. This order prevents a new battery from masking the real fault for a few days.
Start by recording the failure pattern
The timing of the failure narrows the possibilities. Write down when the battery was charged, how the boat was used and how long it sat before the problem appeared.
| What happens | What it may point toward | What to verify |
|---|---|---|
| Battery is flat after weeks in storage | Self-discharge, expected standby loads, unwanted draw or incomplete storage charging | Battery condition, storage method and measured key-off load |
| Battery is weak after one day on the water | Load exceeds usable capacity or charging input | Actual amp draw, operating time, bank capacity and charge contribution |
| Engine will not crank after a short stop | Weak starting battery, poor connection, starter issue or loads using the starting bank | Battery test, cable voltage drop and bank arrangement |
| Battery dies soon after a full charge | Lost capacity, internal damage or large ongoing load | Professional capacity/load test and current draw |
| Only one bank goes flat | Bank-specific battery, load, charging or switching problem | Isolation, charge allocation and circuits on that bank |
A single low-voltage reading does not identify the cause. Record whether the reading was taken while charging, immediately afterward, at rest or under load; those conditions are not interchangeable.
Eight common reasons a boat battery keeps dying
1. The battery has lost usable capacity
Age is only one factor. Repeated deep discharge, long periods at low state of charge, excessive heat, incorrect charging, vibration and freezing while discharged can reduce capacity. A damaged battery can show plausible open-circuit voltage but collapse when the starter or another heavy load is applied.
Do not replace by age alone and do not keep a failed battery because it seems “too new.” Use the test method approved for its chemistry and intended job. Starting batteries, deep-cycle batteries and lithium systems require different interpretation.
2. The battery was never fully charged
A short engine run may not restore the energy used at anchor or during starting. A portable charger may be too small, set to the wrong profile or disconnected before its complete cycle. Shore-power interruptions, failed charger outputs or an incorrect bank setting can leave one battery partially charged while another appears normal.
Confirm the charger supports the battery chemistry and system voltage. Use the manufacturer’s indicators and procedure rather than estimating completion by time alone.
3. The engine charging system is not keeping up
Many engines charge a starting battery while running, but alternator or stator output, voltage regulation, battery switching and charge distribution vary. Large house loads can consume much of the available output. Idle operation may provide different output than cruise speed.
Verify charging behavior against the engine manual and installed system design. A higher running voltage does not, by itself, prove that the correct current reaches every bank or that a battery accepts charge normally.
4. Loose or corroded connections create resistance
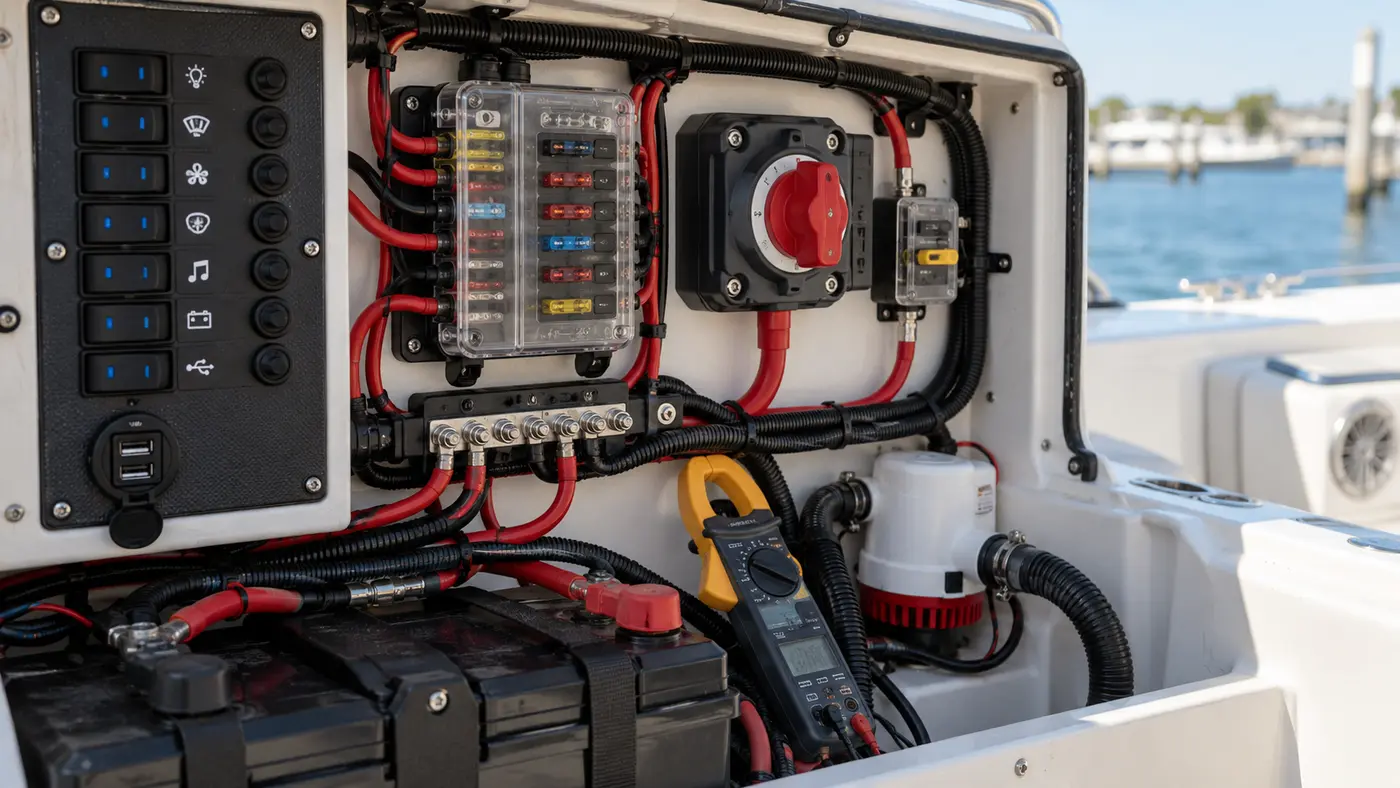
A connection can look acceptable yet limit charging or cranking under load. Check the terminals, cable lugs, switches, fuse holders, busbars, grounds and engine connections identified in the manuals. Green corrosion, blackened copper, looseness, melted insulation or unusual heat are warning signs.
Cleaning and tightening require the correct isolation sequence and torque. Do not stack extra accessories randomly on battery posts; marine busbars and protected distribution may be a better design, installed by a qualified professional.
5. A hidden or standby load remains active
Bilge-pump circuits, alarms, monitoring systems, stereo memory, networking equipment, USB outlets, relays and chargers may draw current when the helm appears off. Some loads are intentional and safety-critical; others are unnecessary or faulty. Blue Sea Systems notes that multiple small continuous loads can become significant in combination.
Never disable a safety circuit simply to make a current reading disappear. Compare the measured key-off draw with the boat’s wiring documentation and the specifications of equipment that is designed to stay powered.
6. The battery bank is too small for the real load
A battery selected by physical size alone may not provide enough usable energy for refrigeration, electronics, lighting, pumps, audio equipment or a trolling motor. Starting and house loads also have different requirements. Repeatedly draining a small bank deeply can shorten its life and leave insufficient starting reserve.
Create a load list using measured or verified current and realistic hours of use. Then apply the battery maker’s permitted depth of discharge, temperature and reserve guidance. Our battery runtime calculator provides a first estimate, not a design approval.
7. The battery switch or bank arrangement is misunderstood
“1,” “2,” “Both” and automatic-combining systems behave differently depending on the wiring. Leaving banks combined can allow a house load to discharge the starting battery. An automatic charging relay may combine banks only under certain voltage conditions. A switch may also be wired differently from what a label suggests after past modifications.
Use the boat’s current wiring diagram and physically verify the installed design. Do not rotate battery switches while the engine is running unless the switch and manuals explicitly permit it; interrupting the charging circuit can damage equipment.
8. Storage conditions are shortening battery life
Long storage without the correct maintenance charge can leave a lead-acid battery partly discharged. Heat accelerates aging, while freezing can damage a discharged battery. Lithium storage requirements vary by maker and may include temperature limits and a specific state-of-charge range.
Follow the battery and boat manufacturer’s storage instructions. Do not assume that disconnecting the negative cable is always appropriate: some safety or monitoring circuits may be designed to remain active, and lithium systems may have battery-management requirements.
A safe troubleshooting sequence
Step 1: Stop if the battery is unsafe
Do not charge or test a battery that is cracked, leaking, swollen, frozen, excessively hot or producing an unusual odor. Isolate the area safely and arrange professional help. A hot or swollen battery can indicate severe overcharging or internal failure.
Step 2: Identify every component
Record battery chemistry, voltage, capacity or cranking rating, installation date and starting/house/trolling job. Identify the charger, engine charging source, selector switches, isolators or automatic charging relays and any solar controller. Photograph labels and cable positions before work begins.
Step 3: Inspect the installation
With the system isolated by the approved procedure, check hold-downs, terminal protection, cable condition, fuses and ventilation. Look for a loose lug, a cable rubbing through insulation, incorrect accessory connections or evidence of heat.
Step 4: Fully charge with compatible equipment
Use the method in the battery and charger manuals. Select the verified chemistry and bank. Monitor for abnormal heat, odor, swelling or charger faults. See our complete guide to charging a boat battery safely.
Step 5: Let the battery stabilize and test it
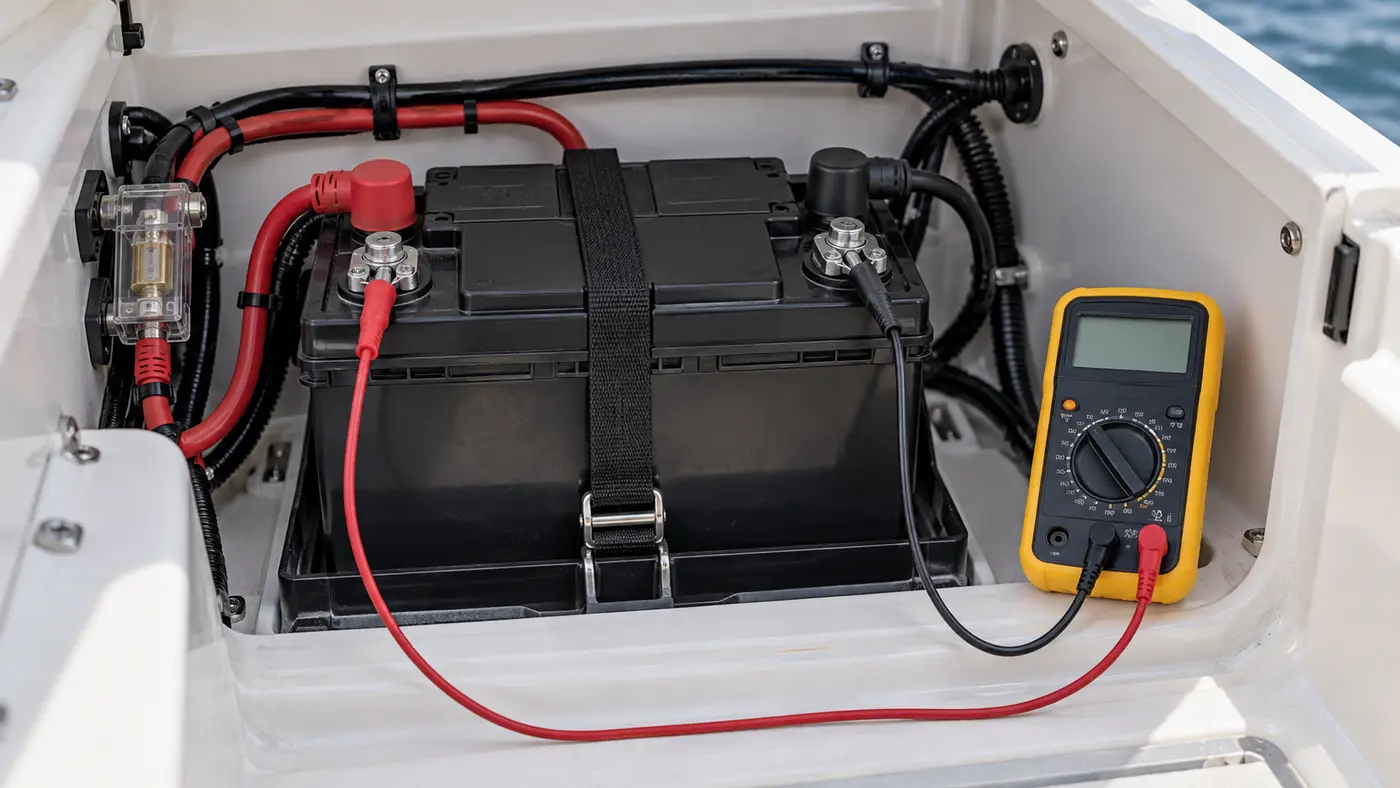
Follow the battery maker’s rest period before evaluating open-circuit voltage. Compare the result only with a chart for that chemistry and temperature. Then use a suitable capacity, conductance or load test to determine whether the battery can perform its job. Our multimeter testing guide explains what voltage can and cannot prove.
Step 6: Verify charging performance
Measure at the locations and operating conditions specified by the engine and charging-equipment manuals. Check whether every intended bank receives charge, whether output changes with engine speed and loads, and whether cable voltage drop prevents energy from reaching the battery.
Step 7: Measure key-off draw
Only after the battery and charging system pass should you look for unwanted current. Current measurement is not the same as voltage measurement. Placing a meter configured for amps directly across a battery can create a dangerous short and damage the meter.
A trained technician may use a suitable clamp meter or insert a protected meter correctly in series, then isolate circuits one at a time while preserving intentional safety loads. The goal is to compare actual draw with documented expected draw—not to force the number to zero.
Why universal battery-voltage numbers can mislead
A single chart cannot cover flooded lead-acid, AGM, gel and lithium batteries under every temperature and rest condition. Surface charge after charging can make voltage look higher. A load can pull it lower. Lithium voltage can remain relatively flat through much of the discharge curve, while a battery-management system may disconnect the pack at a limit.
Use the battery manufacturer’s state-of-charge and testing data. The meaningful comparison is not “Is it near 12 volts?” but “Does this measured behavior match the specification for this exact battery under this exact condition?”
What the timing of the failure usually means
Battery dies overnight
A large key-off load, damaged battery or severe charging shortfall is more likely than normal self-discharge. Fully charge and test the battery, then measure the documented standby load.
Battery dies after several weeks
Small continuous loads, storage temperature, incomplete charging and natural self-discharge can combine. Review every circuit that remains powered and the storage-maintenance plan.
Battery is weak only after anchoring
House loads may exceed usable bank capacity or may be connected to the starting bank. Measure actual consumption and confirm bank isolation and reserve.
Battery is weak after short engine runs
Starting and house energy use may exceed what the charging system restores during brief operation. Test charging output and plan a compatible shore, solar or longer-run charging strategy if the system design supports it.
New battery also goes flat
Do not buy another battery. Recheck charging, cable voltage drop, bank switching, standby loads and system sizing. The first replacement may only have reset the symptom.
How to prevent repeated discharge
- Use the correct starting, deep-cycle or dual-purpose battery for each job.
- Size the bank from verified loads, operating time, reserve and chemistry limits.
- Recharge promptly with compatible equipment after use.
- Keep batteries secured, terminals protected and connections inspected.
- Record resting tests, capacity tests, charge behavior and unusual discharge events.
- Label battery switches and teach every operator the correct positions.
- Review equipment that remains energized during storage.
- Follow the manufacturer’s temperature and long-term storage instructions.
- Investigate the first unexpected discharge rather than normalizing repeated jump-starts.
For service-life planning, see how long boat batteries last. Add terminal, charger and storage checks to the complete maintenance checklist.
When to call a marine electrician
Use qualified help for hot cables, melted insulation, repeated blown fuses or tripped breakers, a swollen or overheating battery, shore-power or charger faults, undocumented wiring changes, multiple-bank switching problems, lithium battery-management faults or any test that requires opening protected circuits.
Ask the technician to document battery test results, charging voltage and current under stated conditions, voltage drop, measured key-off draw and the circuits responsible. A written diagnosis is more useful than a vague recommendation to replace the battery.
Frequently asked questions
Why does my boat battery die when the boat is not in use?
The battery may be damaged or partly charged, or an expected or unwanted load may remain active. Alarms, memory circuits, pumps, chargers and USB outlets can consume power even when the main controls appear off.
Can a boat battery be fully charged and still be bad?
Yes. Resting voltage can look plausible while usable capacity or cranking performance is poor. A chemistry-appropriate capacity, conductance or load test may be needed.
Does running the boat charge the battery?
Many engines charge a battery while running, but output, wiring and charge allocation vary. Short trips or large onboard loads may use more energy than the charging system restores.
How do I find a parasitic draw on a boat?
Verify battery condition and charging first. Then compare measured key-off current with documented expected loads and isolate circuits systematically. Incorrect current measurement can create a dangerous short, so use a marine electrician if uncertain.
Should I disconnect my boat battery during storage?
Follow the boat and equipment manuals. Some safety, alarm or bilge-pump circuits may intentionally remain powered, and the correct storage arrangement depends on the battery chemistry and charging equipment.
Will replacing the battery fix repeated discharge?
Only if the battery itself is the cause. A charging fault, poor connection, hidden load or undersized bank can quickly create the same symptom with a new battery.
Sources and editorial basis
- Blue Sea Systems: Continuous Current Drain and Battery Switching
- Blue Sea Systems: Marine Electrical Measurement
- Discover Boating: Electrical and Battery Types
- Discover Boating: Charging a Boat Battery
- Interstate Batteries: Battery Safety FAQs