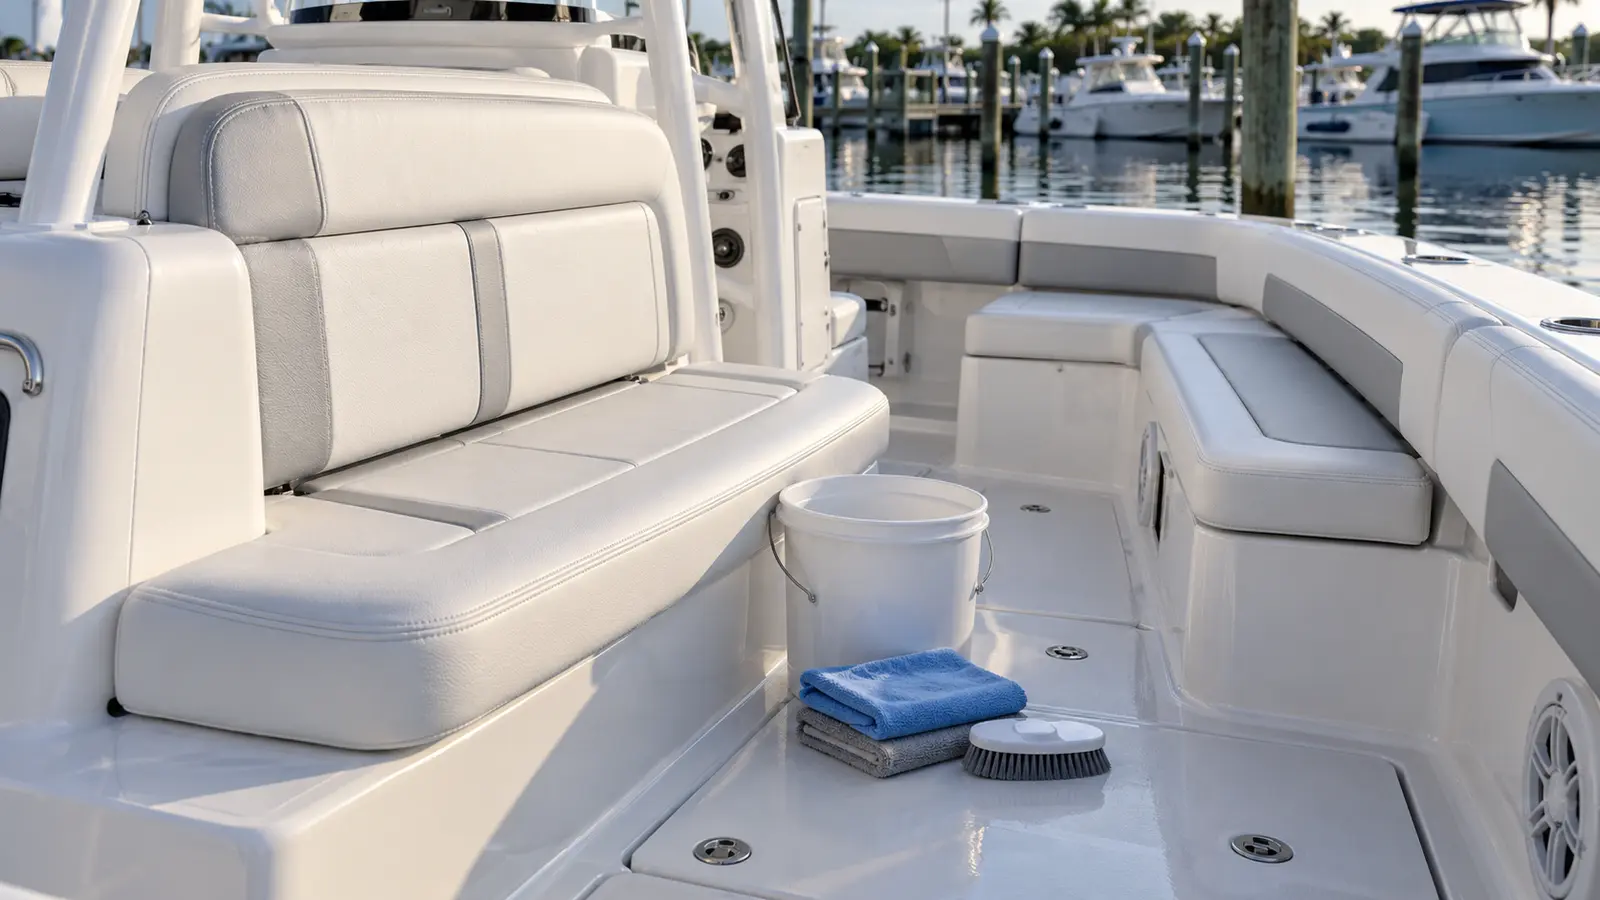
The safest way to clean boat vinyl seats is to start gently: identify the upholstery, remove loose grit, use the cleaner and dilution approved by its manufacturer, rinse away residue and dry the seat completely. Stronger is not automatically better.
Quick answer
For routine cleaning, many marine-vinyl manufacturers recommend water, mild soap and a soft cloth. Work in small sections, avoid flooding seams, rinse with a separate damp cloth and dry before covering the boat. Treat stains with the exact material-specific guide instead of a universal household recipe.
1. Identify the upholstery before choosing a cleaner
“Boat seat” describes the location, not the material. Two similar-looking boats may use different coated fabrics with different protective topcoats, stitching, backing and warranty rules. Look in the boat owner’s packet, seat tags, build sheet or upholstery manufacturer documentation. If the material cannot be identified, ask the boat builder or dealer before using a strong cleaner.
This matters most with mildew and stubborn stains. One manufacturer may publish a carefully measured non-chlorine bleach solution for a particular marine collection, while another may prohibit bleach or specify a different sequence. A recipe copied from another boat is not proof that it is safe for yours.
2. Gather a small, simple cleaning kit
- Clean water
- Mild soap approved for the exact upholstery
- Two or more clean, light-colored microfiber or soft cotton cloths
- A soft-bristle brush only if the care guide permits it
- A vacuum with a soft attachment or a clean dry brush for loose grit
- Dry towels
- Gloves and eye protection when required by a product label
- Good shade and ventilation
Light-colored cloths make transferred dye and lifted dirt easier to see. Separate the wash cloth, rinse cloth and drying towel so dissolved dirt does not go back onto the surface.
3. Use this safe step-by-step method
Step 1: Remove dry dirt first
Lift sand, crumbs, leaves and grit with a soft brush or a vacuum attachment that cannot scratch the vinyl. Pay attention to piping, seat bases and the narrow channels beside seams. Rubbing loose grit into the surface can create unnecessary wear.
Step 2: Test a hidden area
Prepare only the concentration listed by the upholstery or cleaner manufacturer. Test it beneath a cushion or on another inconspicuous spot. Let the test area dry fully, then check for color change, dullness, stickiness, texture change or dye transfer.
Step 3: Clean one small section
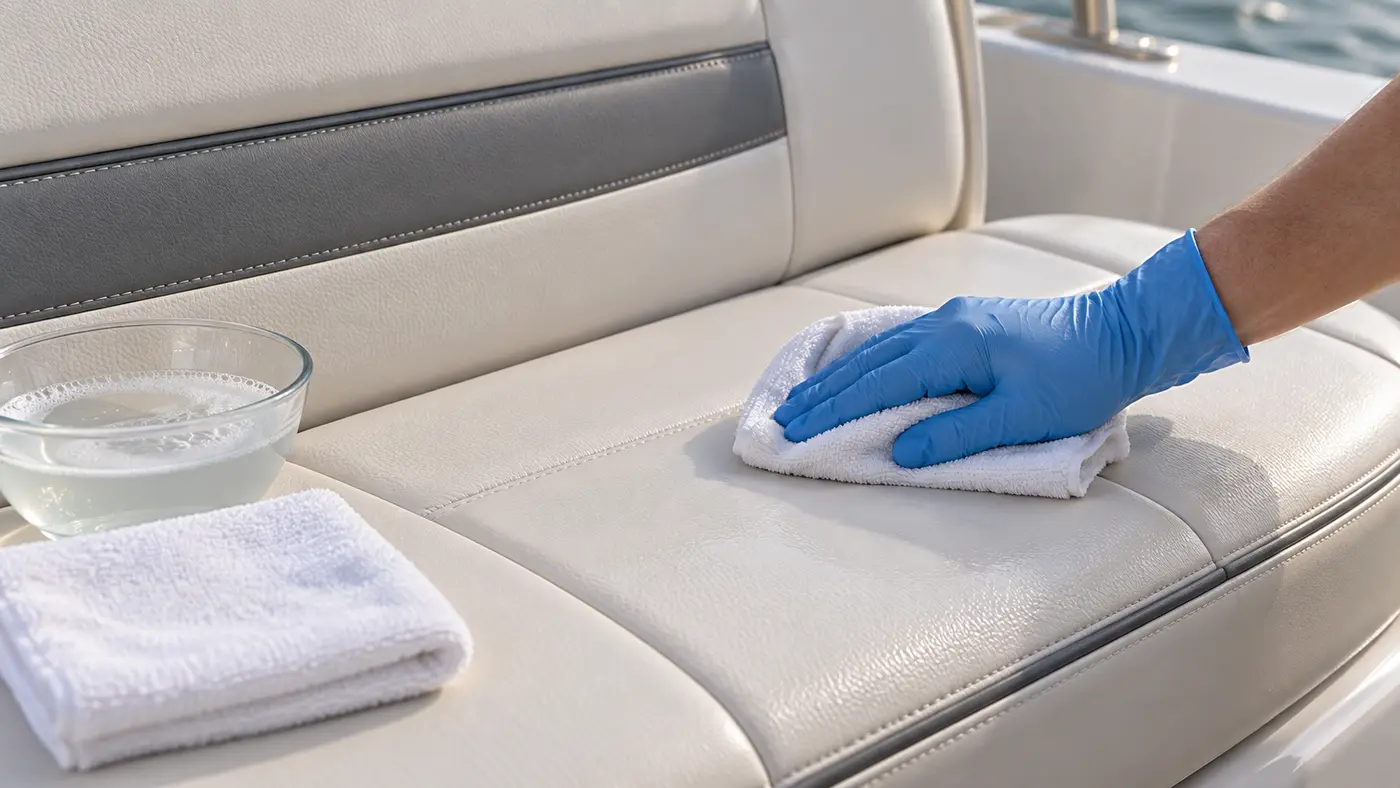
Dampen the cloth instead of pouring solution onto the seat. Wipe gently with overlapping passes. On textured vinyl, use a permitted soft brush with light pressure; aggressive scrubbing can affect the grain or protective coating.
Step 4: Protect seams and cushion openings
Do not flood stitching, zippers, piping or drain openings. Liquid that reaches the foam or backing may take far longer to dry than the visible surface and can create the damp conditions that encourage odor and mildew.
Step 5: Rinse away cleaner residue
Use a second cloth dampened with clean water. Rinse and refold it often. Soap or cleaner left behind can attract soil, create streaks or continue acting on the surface after you think the job is complete.
Step 6: Dry and inspect
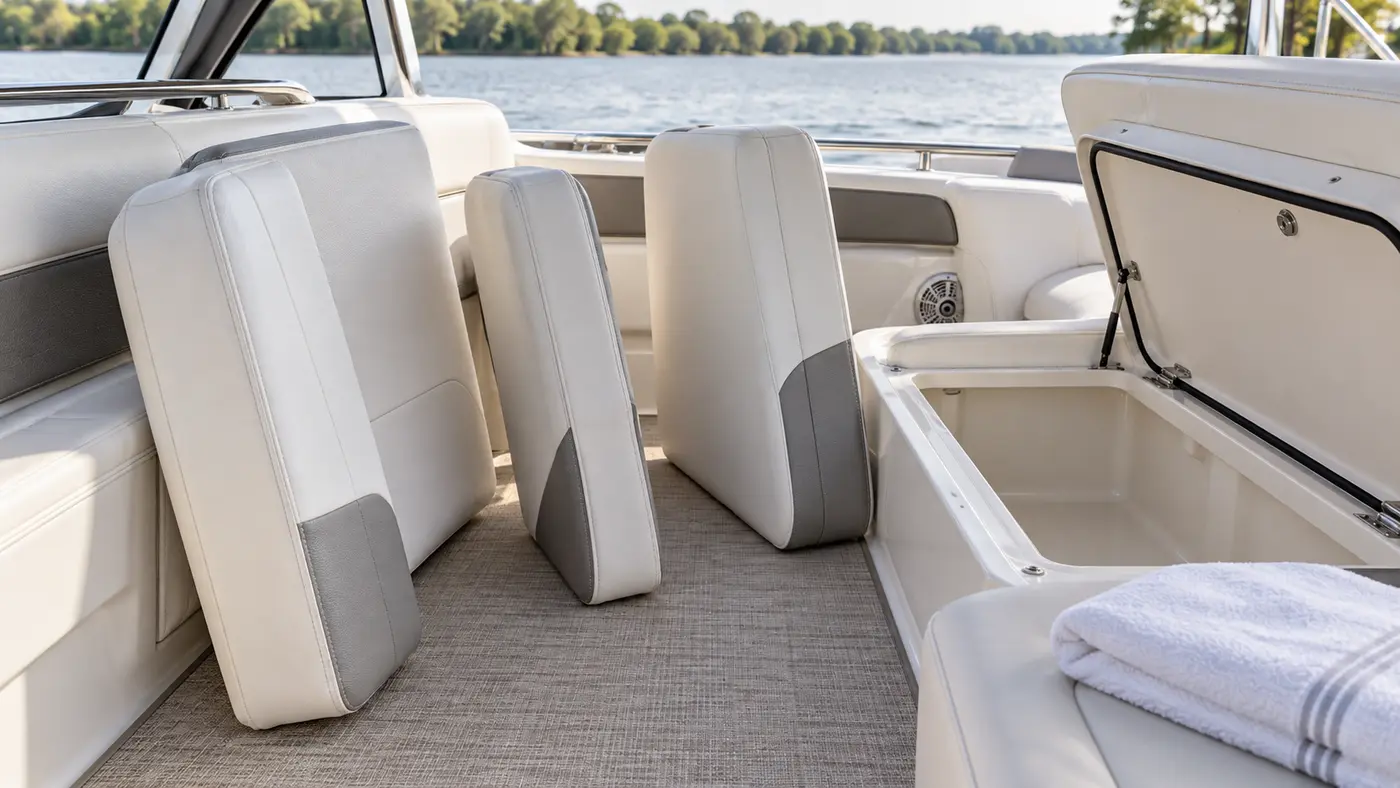
Wipe the surface and seams with a clean towel. Stand removable cushions upright when safe so their lower edges can air out. Inspect the dry result in even light before repeating the process or choosing a stronger approved treatment.
How to handle common stains
Prompt attention is usually easier on the material than letting contamination sit. Blot liquids; do not grind them into the grain. Remove solid residue carefully, then begin with the routine method.
| Problem | First response | Important limit |
|---|---|---|
| Sunscreen and body oils | Blot promptly, then use the approved mild-soap method. | Avoid unapproved degreasers and solvents that may attack the topcoat. |
| Food and drink | Lift solids, blot liquid and clean the area without spreading it. | Do not let colored residue remain in heat or direct sun. |
| Fish residue or bait | Remove contamination promptly, clean and rinse, then dry fully. | Odor may remain if liquid reaches foam or the seat base. |
| Ink, dye or clothing transfer | Stop after the gentle method if the mark remains and consult the stain chart. | Solvents and alcohol concentrations vary by material; do not improvise. |
| Bird droppings | Soften with an approved wet cloth, lift without scraping and clean normally. | Hard tools and abrasive pads can damage the surface. |
| Mildew marks | Confirm the maker’s mildew procedure and correct the moisture source. | Visible cleaning will not fix damp foam or contamination beneath the vinyl. |
If the first gentle pass does not remove a stain, repeat only if the care guide permits it. Then move to the next approved step in that guide. Stop when the material changes or when the stain may be below the surface.
How to clean mildew without guessing
Mildew advice is where generic cleaning articles become risky. Published directions differ among marine-vinyl products. Spradling’s guide, for example, gives a specific measured mixture for stubborn stains or mildew in the collection covered by that guide. That does not turn the formula into a universal recommendation for every boat seat.
- Check whether the seat maker identifies the material and publishes a mildew method.
- Move the boat or cushions to a ventilated work area and follow all label safety instructions.
- Test the permitted solution in a hidden area and respect its exact dilution and contact time.
- Keep the solution controlled on the surface and away from unapproved components.
- Rinse thoroughly as directed and dry the complete cushion—not only the visible face.
- Inspect the storage compartment, underside, foam and cover for the source of continuing moisture.
Products and methods to avoid unless specifically approved
- Magic Eraser or melamine foam: it is mildly abrasive and can dull or thin a protective coating.
- Scouring pads and stiff brushes: they can scratch the grain and damage stitching.
- Pressure washers: pressure can force water into seams, foam and seat bases.
- Household bathroom or kitchen cleaners: a familiar brand is not proof of compatibility with marine upholstery.
- Undiluted bleach, ammonia, acetone or strong solvents: do not use them without explicit written approval for the exact material.
- Petroleum or oily dressings: they may leave a slippery film or affect the surface.
- Unverified protectants: use only what the upholstery manufacturer allows, at the stated frequency.
Dry the seats before covering the boat
A seat can feel dry on top while moisture remains along piping, beneath a removable cushion or inside the foam. Wipe seams and lower edges, open under-seat compartments and allow airflow. Position cushions only as the boat builder permits so they cannot fall, deform or block a needed drain.
Do not seal a wet cockpit under a tight cover. The correct cover should keep rain out while allowing the ventilation designed for the boat and storage method. If a compartment stays damp, look for leaks, clogged drains, wet gear or condensation instead of masking the odor.
Prevent dirt and mildew from returning
- Wipe sunscreen, food, bait and spills promptly.
- Remove wet towels, life jackets and clothing instead of leaving them on upholstery.
- Rinse appropriate surfaces after salt exposure and dry them before storage.
- Keep drains clear and investigate water that appears beneath cushions.
- Use a properly fitted cover and the ventilation arrangement recommended for the boat.
- Store removable cushions only when they are fully dry.
- Clean lightly and regularly instead of waiting for heavy buildup that requires aggressive treatment.
Seat care fits into the larger ownership routine. Add it to the after-trip and storage sections of the complete boat maintenance checklist, and see the winterization guide before long seasonal storage.
When cleaning is no longer the solution
Cleaning cannot repair a cracked topcoat, split seam, hardened vinyl, damaged foam or dye that has permanently migrated into the material. Stop scrubbing if the surface becomes tacky, rough, discolored or dull. A marine-upholstery specialist can determine whether the panel can be repaired or should be replaced.
Persistent odor, wet foam or marks that reappear from below also need a source inspection. Repeated chemical treatment of the surface may hide evidence while the underlying moisture problem continues.
Frequently asked questions
What is the safest way to clean boat vinyl seats?
Start with the upholstery manufacturer’s instructions. Remove loose grit, clean a small area with the approved mild soap solution and a soft cloth, rinse away residue, then dry the surface and seams completely.
Can you use bleach on boat vinyl seats?
Only when the exact upholstery manufacturer explicitly permits it, and only at its stated dilution and contact time. Some guides allow a specific solution while others warn against it, so there is no safe universal recipe.
How do you remove mildew from boat vinyl?
Follow the vinyl maker’s mildew procedure, rinse and dry thoroughly, then correct the moisture source, wet foam or poor ventilation that allowed mildew to return.
Can you use a Magic Eraser on boat seats?
Avoid it unless the manufacturer specifically approves it. Melamine foam is mildly abrasive and can dull or damage a protective topcoat.
How often should boat seats be cleaned?
Wipe spills, sunscreen, fish residue and dirt promptly. Perform routine cleaning as needed and before storage rather than waiting for heavy buildup.
Why does mildew keep coming back?
Recurring mildew usually indicates continuing moisture, poor airflow, a damp cover, wet cushion foam or contamination beneath the visible surface. Cleaning alone will not solve the source.
Sources and editorial basis
Exact cleaning chemistry comes from the upholstery or boat manufacturer, not from a universal home remedy. Key references:
- Spradling Group: Marine General Cleaning Guide
- Bennington Marine: Cleaning Vinyl Boat Seats
- Bennington Marine: Cleaning Simtex Upholstery