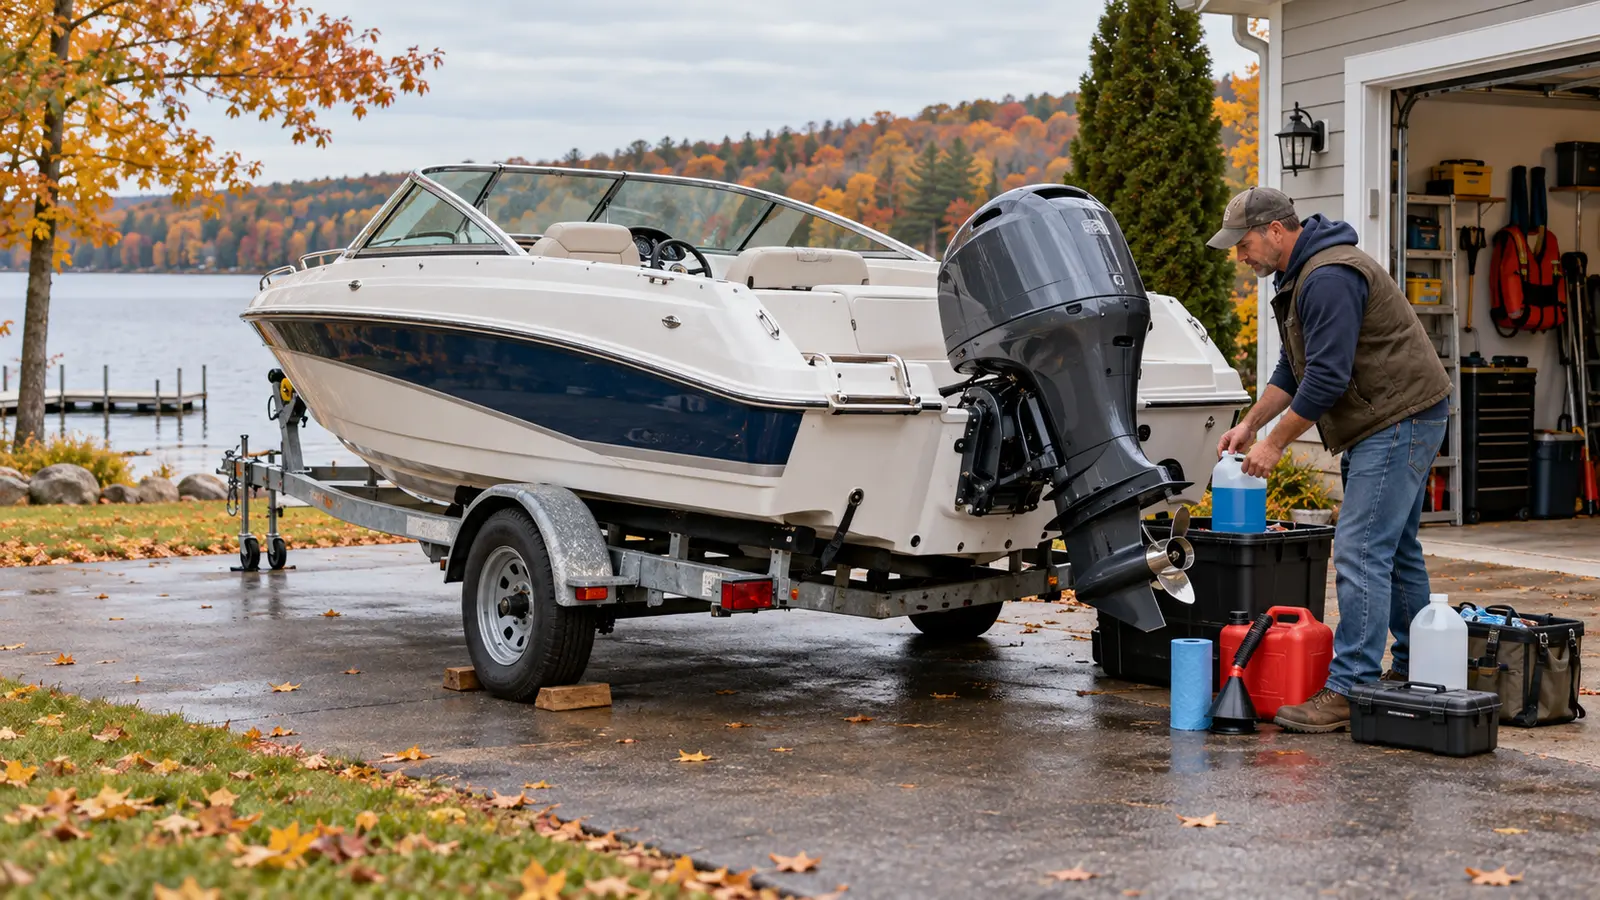
Winterizing is less about buying a kit and more about removing the three things that cause most off-season trouble: trapped water, neglected fluids and moisture. The catch is that every boat drains differently. A 19-foot outboard with no plumbing is a very different job from a sterndrive cruiser with a water heater, head and air conditioning.
Quick answer: What does winterizing a boat involve?
Winterizing a boat means preparing every system for freezing temperatures and inactivity. At minimum, inspect and service the engine according to its manual, manage the fuel correctly, drain or protect water systems, charge and store the battery properly, dry the interior, inspect the trailer and cover the boat so water cannot collect.
This guide gives you the order of work and the questions to ask. It does not replace the procedures for your exact engine, generator, charger, water heater or sanitation system. Keep those manuals beside you; when they disagree with a general checklist, the manufacturer wins.
When should you winterize your boat?
Finish the job before the first hard freeze and before the boat sits unused for an extended period. Do not wait for snow. A single cold night can damage a component that still holds water, and rushed work makes it easier to miss a pump, hose or low point.
Mercury Marine advises winterizing before freezing weather arrives and notes that climate and engine design matter. In a mild climate, freeze protection may be less urgent, but fuel, corrosion, batteries, moisture and long-term storage still need attention.
Use conditions, not just a date
- Outdoor storage in a freezing region: complete every freeze-protection step early.
- Unheated indoor storage: treat it as exposed unless the space is reliably kept above freezing.
- Climate-controlled storage: you may avoid some freeze risk, but engine service, fuel, battery and moisture work still apply.
- Boat stored in the water: requires a marina- and boat-specific plan for seacocks, shore power, bilge systems, ice and emergency access.
First identify what kind of boat you are winterizing
Before buying supplies, list the systems aboard. This five-minute inventory prevents the classic mistake of winterizing the engine but forgetting the washdown pump or water heater.
| Boat setup | Main winterization focus | Where owners often get caught |
|---|---|---|
| Outboard, no plumbing | Fuel, engine service, gearcase, battery, hull and trailer | Storing the motor tilted and trapping water |
| Sterndrive | Engine and raw-water cooling, drive service, fuel and battery | Missing drain points or using a procedure for another engine |
| Inboard | Raw-water circuit, strainers, exhaust, engine fluids and fuel | Assuming the system is empty because one drain opened |
| Boat with freshwater/head | Tanks, pumps, heater, faucets, toilet, sanitation and drains | Water trapped behind valves, in filters or pump housings |
| Pontoon or fishing boat | Engine plus livewells, washdowns, electronics and upholstery | Forgetting pumps and hoses below deck |
What do you need to winterize a boat?
Build the shopping list from the manuals, not from a generic bundle. Depending on the boat, you may need the specified engine oil and filters, gear lubricant and pump, fuel stabilizer, marine grease, fogging product if required, replacement fuel filter, corrosion protection, approved antifreeze for applicable systems, basic hand tools, drain pans, labels and absorbent pads.
Also have a maintenance log. Write down engine hours, product specifications, quantities used, parts replaced, open drains, disconnected cables and the spring recommissioning steps. Memory is unreliable after five months.
Step 1: Wash, inspect and fix problems before storage
Begin while the boat is still operational. Run every system and note weak pumps, slow cranking, warning alarms, leaks or unusual odors. Look over the hull, propeller, lower unit, anodes, steering, hoses, wiring and trailer.
A leak does not improve over winter. Neither does contaminated gear lubricant or a battery that is already struggling. If you find water where it should not be, milky lubricant, fuel odor, overheated wiring or structural damage, pause the winterization and arrange diagnosis.
Step 2: Treat the fuel correctly
Fuel-storage instructions vary. Some manufacturers want stabilizer added to fresh fuel and circulated through the system; tank-level recommendations can also differ. Follow the engine and boat manuals, use only an approved stabilizer at the stated concentration and do not mix a “little extra” for luck.
If the procedure requires running the engine, provide the correct cooling-water supply and outdoor ventilation. Never run a gasoline engine in a garage, even with the door open. Inspect fuel lines, primer bulbs, connections and filters for cracking, leakage or age-related damage.
Step 3: Service the engine and drive
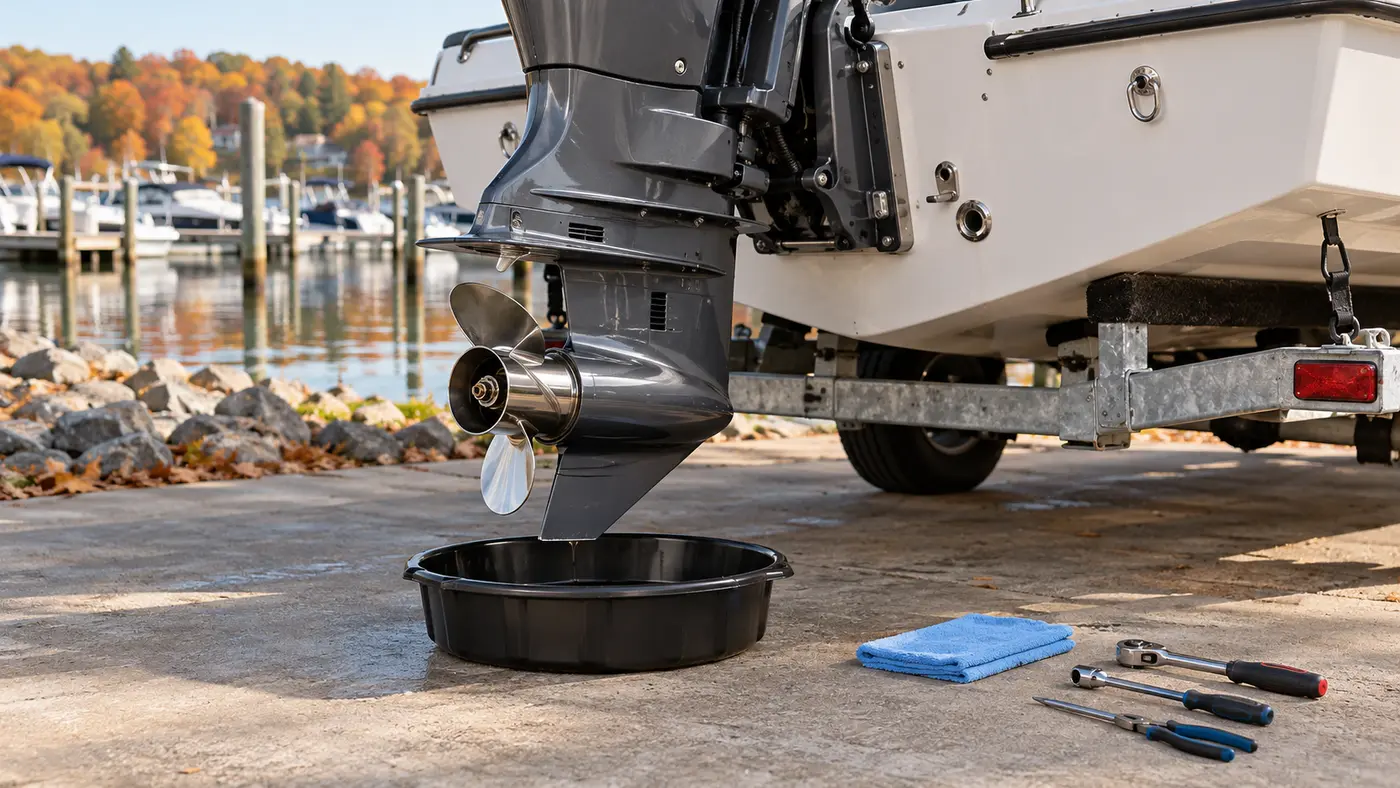
Common outboard tasks include changing engine oil and filter on four-strokes, changing gearcase lubricant, inspecting the propeller shaft for fishing line, greasing specified points, checking anodes and applying corrosion protection. Some engines call for fogging; others use a different internal-protection procedure.
Sterndrives and inboards require special attention to raw-water cooling passages. There is no safe universal “pull this hose” shortcut. Drain points, thermostats, coolers and closed-cooling sections vary. If the manual’s procedure is unclear, this is a good place to hire a technician.
Step 4: Drain and protect every water system
Make a separate line in your checklist for each system: freshwater tank, water heater, faucets, shower, toilet, holding tank, raw-water washdown, livewell, baitwell, air conditioner, generator and any deck or transom shower.
- Turn off power and water sources using the approved procedure.
- Empty tanks and water heaters as their manuals direct.
- Open the correct outlets and low-point drains.
- Remove and drain filter bowls or pump strainers where specified.
- Use only the approved non-toxic marine/RV antifreeze method where required.
- Label any valve, drain or bypass left in a winter position.
Do not put automotive antifreeze into a potable-water system, and do not assume blowing out lines removes water from every pump or low point.
Step 5: Protect the battery and electrical system
Turn off loads, isolate power in the sequence required by the boat and inspect the battery. Swelling, cracks, leakage, heat damage or a strong unusual odor are reasons to stop using it. Clean and protect connections only with the method approved by the battery and boat manufacturers.
Fully charge the battery with a charger matched to its chemistry. Then follow the battery maker’s storage instructions; flooded lead-acid, AGM and lithium batteries do not all want the same treatment. Never leave an improvised charger unattended for months.
Our boat-battery charging guide explains the safe preparation, and the multimeter guide explains why resting voltage is only part of the picture.
Step 6: Clean and dry the interior
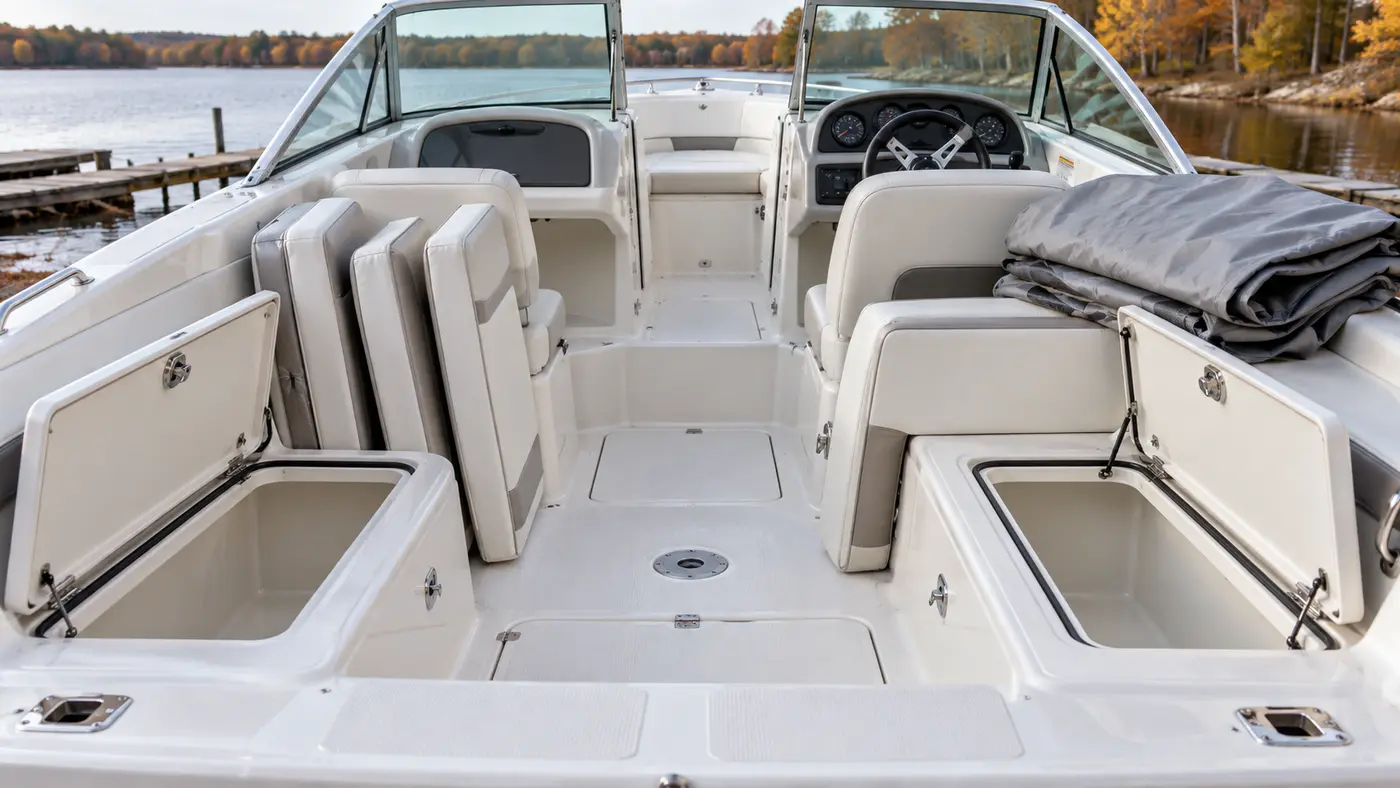
Remove food, trash, wet gear, electronics and anything rodents may chew. Clean vinyl and other surfaces with products approved by their manufacturers. Lift cushions, open lockers where safe and let compartments dry completely.
Check the bilge. A little expected wash water is one thing; unexplained water, oil or fuel is another. Find the source before covering the boat. Moisture control works best after the boat is genuinely dry—not as a substitute for ventilation or leak repair.
Step 7: Inspect the trailer and support the boat
Check tire age and pressure, wheel bearings, brakes, lights, coupler, safety chains, winch strap, bunks or rollers and frame corrosion. Park on a stable surface, chock the wheels and support the trailer as its manufacturer directs. Avoid leaving tires in soft soil or standing water.
If the boat is blocked off the trailer, use a professional yard or the boat manufacturer’s approved support points. Incorrect blocking can injure people and distort or damage the hull.
Step 8: Cover without trapping water or moisture
The cover should be secure, ventilated and steep enough to shed rain or snow. Support poles and straps must not concentrate load on glass, upholstery or fittings. Pad areas that could chafe and inspect the cover after major wind or snow.
Shrink-wrap can work well when installed with proper ventilation and structure. A loose tarp that flaps, pools water or seals in moisture can do more harm than good. See our boat covers and storage hub for the broader storage checklist.
Step 9: Store the outboard in the correct position
Many outboards should be left fully down so cooling water can drain. Mercury specifically warns that tilting an outboard in freezing weather can trap water. Confirm the correct position for your model and make sure the skeg cannot strike the ground.
Sterndrives also have model-specific storage-position guidance. Do not copy the outboard rule automatically.
Step 10: Leave yourself a spring recommissioning list
Attach a visible tag at the helm listing every winter change: open drain plugs, bypassed water heater, disconnected batteries, loosened belts if specified, removed electronics and blocked exhaust openings. Store removed plugs and fasteners in a labeled bag.
In spring, reverse the procedures carefully, inspect for animal damage and leaks, test the battery and charging system, verify safety gear and run the boat according to the engine manual before the first trip.
How much does it cost to winterize a boat?
There is no useful national flat price. A small outboard with no plumbing may need only routine engine supplies and a few hours of labor. A twin-engine cruiser with generators, water systems, heads and air conditioning can cost many times more.
Ask for an itemized quote that separates engine service, water systems, haul-out, storage, cover or shrink-wrap and spring commissioning. That makes quotes comparable and shows what is not included. Our annual boat-maintenance cost guide includes a budgeting method.
Should you winterize the boat yourself or hire a professional?
| Usually reasonable for a careful owner | Better handled by a qualified technician |
|---|---|
| Cleaning, drying and removing gear | Fuel leaks, fuel-system repairs or persistent fuel odor |
| Inventorying systems and labeling drains | Unclear engine or raw-water drain procedure |
| Cover inspection and trailer visual checks | Major electrical faults, overheated wiring or repeated fuse failure |
| Battery charging when manuals and equipment are understood | Steering, structural damage or unsafe blocking |
| Manual-approved low-risk maintenance | Any task outside your tools, training or safe work area |
Seven winterization mistakes to avoid
- Waiting for the first freeze. The forecast can change faster than your service appointment.
- Using one checklist for every engine. Drain points and internal-protection procedures vary.
- Forgetting “small” water systems. Washdown pumps, filters and livewell lines can hold enough water to crack.
- Guessing with antifreeze. Product type, concentration and application method matter.
- Covering a wet boat. A tight cover cannot correct an active leak or damp interior.
- Leaving an outboard tilted without checking the manual. Trapped water can freeze.
- Failing to document spring steps. An open drain or disconnected cable becomes easy to miss months later.
Boat winterization checklist
- ☐ Record engine hours and photograph the current setup.
- ☐ Collect every boat, engine and equipment manual.
- ☐ Inspect for leaks, warnings, damage and overdue repairs.
- ☐ Follow the approved fuel-storage procedure.
- ☐ Complete engine and drive service.
- ☐ Drain or protect each onboard water system.
- ☐ Charge, inspect and store the battery correctly.
- ☐ Clean and fully dry the bilge, lockers and upholstery.
- ☐ Remove food, valuables and moisture-sensitive electronics.
- ☐ Inspect the trailer and support the boat safely.
- ☐ Fit a secure, ventilated cover that sheds water and snow.
- ☐ Confirm the correct outboard or drive storage position.
- ☐ Create a labeled spring recommissioning list.
Open the Interactive Maintenance Checklist
Frequently asked questions
Do all boats need to be winterized?
Any boat exposed to freezing temperatures or stored for a long period needs preparation. The exact steps depend on the engine, installed systems, climate and storage method.
Do I need antifreeze to winterize my boat?
Some engines and water systems require an approved antifreeze procedure; others are designed to drain differently. Follow the manual for each system. Never use automotive antifreeze in a potable-water system.
How long does boat winterization take?
A straightforward outboard boat may take a careful owner a few hours. Boats with inboards, generators, water heaters, heads, livewells or air conditioning take longer. Repairs and drying time are additional.
Can I winterize a boat myself?
Many owners can clean, dry, inventory and complete manual-approved low-risk tasks. Use a qualified technician for unclear engine procedures, fuel work, major electrical issues, steering, structural damage or anything beyond your training.
Should an outboard be stored up or down?
Many outboards are stored fully down so water can drain, but confirm the exact position for your model and ensure adequate ground clearance.
What happens if a boat is not winterized?
Possible outcomes include cracked pumps or engine components, corrosion, degraded fuel, damaged batteries, mildew and pest damage. The risk depends on the boat and storage conditions, but freeze damage can occur after one severe cold event.
Sources and methodology
BoatOwner Hub compared current U.S. search results with manufacturer and established boating-industry guidance. We use general guidance only where procedures vary and direct readers back to equipment manuals for model-specific work.