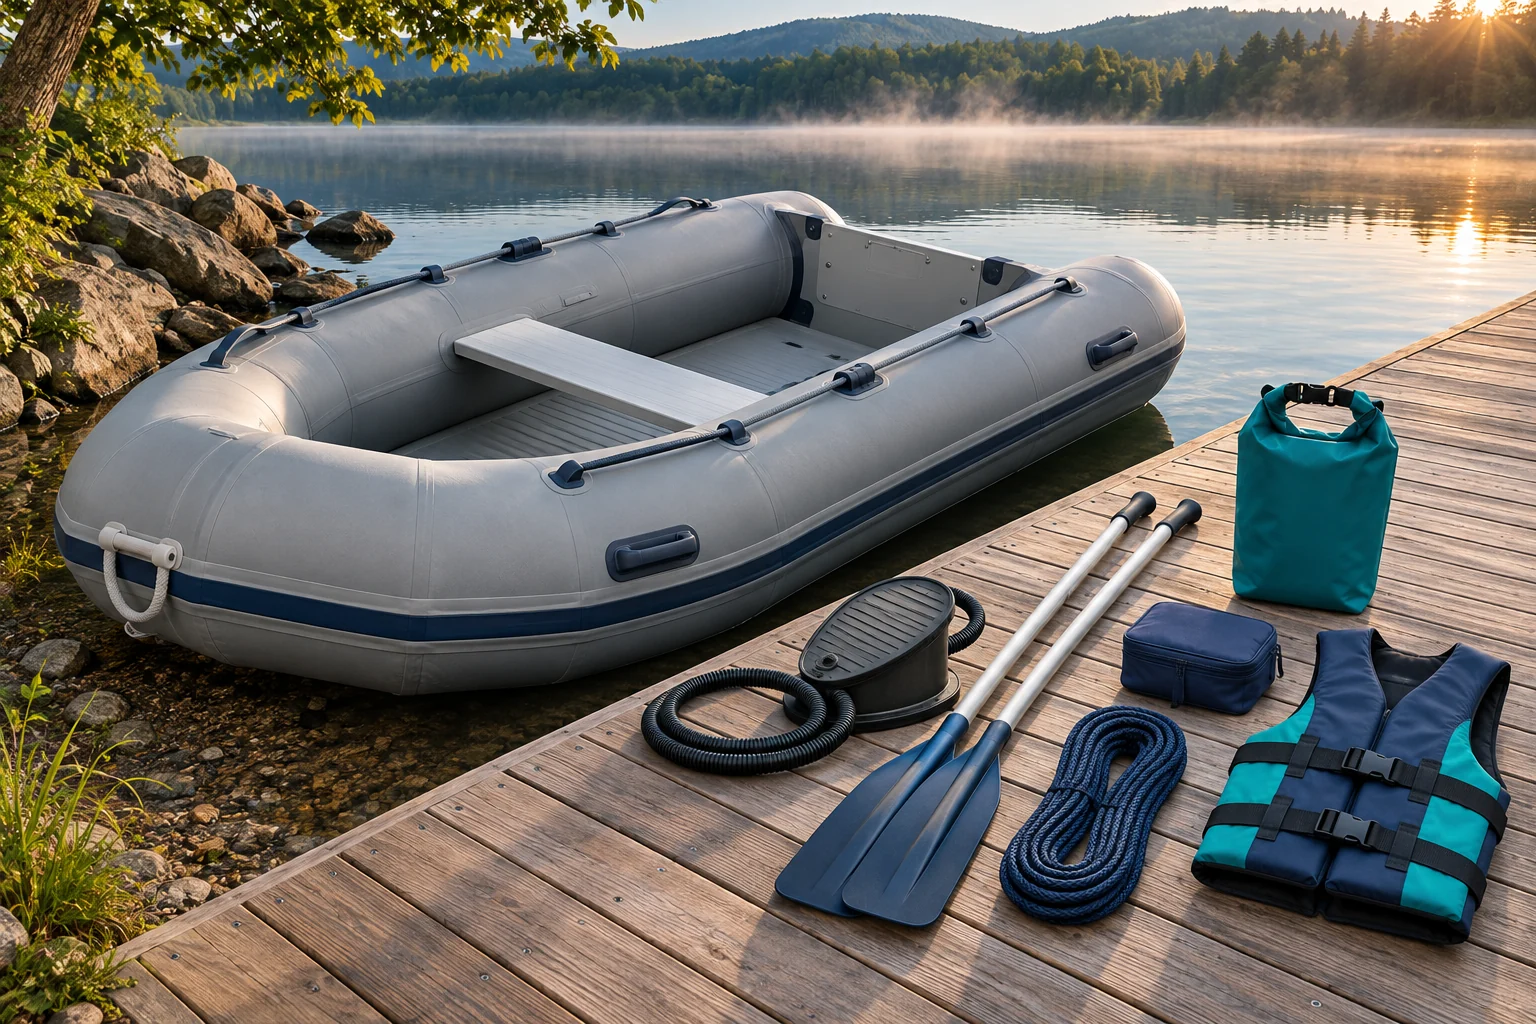
Inflatable boat accessories fall into ten useful groups: inflation, repairs, backup propulsion, seating, fishing mounts, dry storage, docking, launching, motor mounting and weather protection. Choose them around your boat's valve, tube material, floor, approved attachment points and total load. A well-equipped dinghy should still be easy to launch, move around in, dry and pack away.
What should you buy first?
First check what came with the boat. Complete the safety equipment for your people, propulsion and waters, then fill gaps in inflation, backup propulsion and the manufacturer's repair kit. Add storage or fishing equipment after a trial setup shows where it can fit.
- Start here: boat manual, approved life jackets, suitable pump, prescribed pressure-checking method, oars or paddles and compatible repair supplies.
- Add for your trip: secure dry storage, appropriate docking gear and a way to carry or launch the boat.
- Add only after checking fit: rod holders, seats, wheels, a canopy, electronics and propulsion hardware.
Inflatable boat accessory types and features at a glance
The right question is not how many accessories fit in a cart. It is which job remains unsolved on your boat. Use this table to separate a useful purchase from extra weight and setup work.
| Accessory type | Useful features | Check before buying | When it earns its space |
|---|---|---|---|
| Pumps and gauges | Correct adapter, readable pressure range, manageable hose, suitable power source | Valve type and each chamber's specified inflation method and pressure | Your supplied pump is missing, worn or unsuitable for the launch routine |
| Repair kits | Matching patch material, suitable adhesive, clear instructions, sealed storage | Tube material, shelf life, preparation and curing requirements | Before the first trip, as part of the maker's recommended equipment |
| Oars and paddles | Usable length, secure connections, practical stowage | Oarlock fit and ability to operate them with your normal load aboard | Human-powered trips or a realistic backup plan on an appropriate powered boat |
| Seats and cushions | Secure attachment, comfortable height, removable parts | Approved mounting location, floor support, weight and control access | The factory seating needs a compatible comfort improvement |
| Rod holders and mounts | Retention, adjustment, removable upper sections | Approved base, fastening system, tube clearance and casting room | Fishing gear otherwise occupies the floor or tangles in transit |
| Dry bags and organizers | Useful opening, compact shape, tie-down options | Protection limits, real packed capacity and secure attachment | Small essentials need a fixed, reachable home |
| Docking and anchoring equipment | Suitable lines, manageable storage, compatible protective gear | Boat-approved fittings, intended conditions and complete system suitability | You tie up, launch from a dock or have an appropriate anchoring plan |
| Launch wheels and carrying aids | Removable or retractable parts, suitable wheel size | Transom approval, rating, mounting clearance and ground conditions | The trip between vehicle and water is the main handling problem |
| Motor mounts and power accessories | Exact-model fit, documented limits, secure component storage | Boat and mount approval, motor weight, power, controls and battery or fuel arrangement | The boat is approved for the propulsion system you actually plan to use |
| Covers and canopies | Suitable dimensions, attachment, ventilation and easy removal | Boat shape, approved mounts and operating restrictions | Storage protection or an approved shade arrangement solves a recurring problem |
1. Pumps and pressure gauges: start with the valve
A hand pump or foot pump works without an electrical supply. An electric pump can reduce the effort of filling a larger boat, but it adds a power connection and another item to transport. Compare the complete routine: carrying the pump, connecting it, changing chambers, checking inflation and packing the hose afterward.
Maximum PSI is not a compatibility certificate. An inflatable tube and an air floor may have different instructions, while an adapter that looks close may not seal or operate the valve correctly. Check the exact valve, hose attachment and pressure range before considering speed or convenience. Use the boat manufacturer's prescribed way to confirm inflation.
For a concrete example, Newport identifies its foot pump for Halkey Roberts valves and publishes a 4.4 PSI maximum. That describes this pump, not a target pressure for every boat. The pressure specified for each chamber in your boat manual controls. See Newport's pump details.
2. Repair kits: match the boat material
Keep the maker's recommended kit with the boat, and read it before you need it. Check that patches, adhesive and any valve tool belong to the exact material and model. Inspect packaging and adhesive condition rather than assuming the kit included years ago is still ready.
Choose supplies with clear instructions and realistic storage requirements. A compact patch pouch is useful; an unidentified tube of glue is not. Bonded attachments and leak repairs may need controlled preparation and curing time, so carrying a kit does not guarantee an immediate repair at the shoreline.
Distinguish an owner-serviceable issue described in the manual from damage to seams, structural attachments or a transom. Do not make an improvised repair your reason to launch. Newport publishes separate model manuals and repair instructions; follow the current instructions for your boat instead of transferring a method between materials. Find Newport manuals and instructions.
3. Oars and paddles: check that you can actually use them
Oars work with compatible oarlocks; a paddle is operated differently and needs room for the stroke. Verify connections, usable length and the storage position. A spare that fits under the seat but cannot be used around your loaded gear solves the wrong problem.
During a controlled practice outing appropriate for the boat, confirm that the normal seating arrangement leaves room to operate the supplied propulsion equipment. Keep it secure and reachable. Do not treat backup oars as a guarantee that you can overcome wind, current or a long return distance.
4. Seats and cushions: comfort without an improvised platform
Useful inflatable dinghy accessories often make existing seating more comfortable without changing its purpose. Compare attachment, cushion thickness, packed size and whether the seat can be removed for drying. Extra height can change reach to a tiller or oars, so assess the operator position as well as comfort.
A swivel seat or pedestal requires a documented support and mounting arrangement. An air floor, a removable bench and an aluminum floor are different structures. Do not install a pedestal, standing deck or heavy seat base simply because a similar-looking boat has one. If a suitable approved mounting option is absent, a simpler compatible cushion may be the better purchase.
5. Rod holders, fish finder mounts and fishing organization
Inflatable fishing boat accessories should keep sharp hooks and long rods under control while preserving working room. Start with factory fittings and a compact tackle layout. Decide where rods will rest underway, where a landing net will sit and how a person will move without stepping over gear.
Check the complete attachment system before choosing the holder on top. A rail clamp needs a suitable rigid rail or other approved structure. It should not be clamped onto an inflatable tube. A glue-on base requires the correct boat material, adhesive, location and installation procedure.
Sea Eagle's PADACC accessory pad illustrates why the details matter: its product documentation describes protected mounting hardware and compatible materials, but also lists boat families it does not fit. A claim such as “for inflatables” is not enough to approve one base for every model. Check the manufacturer's compatibility list.
For sonar, plan the display, transducer, cable path and power source together. Avoid a loose battery or cable crossing the boarding area. Our fish finder buying guide explains the system decision; the small-boat organization guide helps work out where everything belongs.
6. Dry bags and organizers: choose by the packed load
A small dry bag suits a personal essentials kit; bulky spare clothing, food and shared supplies need more space. Lay out the items first, then choose a bag that can close correctly around them. A roll-top bag loses usable space when the opening is rolled, so its nominal capacity is not the same as an open bucket.
Look for a practical opening, a shape that fits the available space and attachment points that work with approved fittings. Keep required emergency equipment accessible rather than burying it beneath bags. Match electronics protection to the expected exposure; a splash-resistant organizer is not automatically suitable for immersion.
Existing product research: HEETA 5L dry bag
The HEETA 5L dry bag review can help assess a compact personal kit. Check its closure and protection limits before choosing it for valuable items. Its small size does not make it a complete storage solution for a crew.
Read the capacity and limitation checks →7. Docking lines, fenders and anchoring equipment
Choose lines and protective equipment for the boat and intended docking arrangement. Identify which fittings the boat maker approves for the job. A grab handle, accessory pad or convenient loop should not be assumed to be an anchoring, towing or lifting point.
For anchoring, the anchor is only one component. The complete arrangement includes suitable line or chain, attachment points, storage and a method appropriate to the boat and conditions. Keep sharp hardware off exposed tube surfaces and prevent loose rope from crossing feet or controls. Ask the boat maker or a qualified marine professional when the attachment or operating plan is unclear.
8. Launch wheels and carrying aids: solve the shore problem
Walk the real route from vehicle to water before ordering wheels. A smooth ramp, deep sand, steps and an uneven shoreline create different handling demands. Wheel size, clearance, removal and where the boat is carried matter as much as a published weight rating.
Transom wheels require approval for that exact structure and a mounting layout that clears the motor, drains and other fittings. A wheel-set rating does not establish that your transom can accept it. Plan where removed parts will go, how the boat will be supported during handling and whether another person is needed. Launch wheels are not a substitute for a road trailer.
9. Motor mounts, battery storage and controls
A soft-stern boat with dedicated motor-mount fittings needs the maker's compatible mount. A hard-transom dinghy has a different arrangement, but still has specific motor and installation limits. Match the boat, mount and engine instructions rather than choosing from advertised horsepower alone.
For example, Intex sells a separate motor-mount kit and lists the boat models it fits. Fittings on the boat do not mean every motor or mount is included or permitted. Confirm the delivered model, capacity label and complete setup before purchasing. See the Intex mount's model list.
Include battery or fuel, mount, motor, cables, people and all other gear when checking the boat's load. Secure the approved power arrangement and preserve access to controls. Electrical installation and fuel-system work need the relevant manufacturer instructions and qualified help where required.
10. Covers and sun canopies: check shape and restrictions
A storage cover should fit the boat's actual shape and the way it is stored. Check support, ventilation, straps and clearance around protruding fittings. Confirm whether it is designed for storage, mooring or towing rather than transferring a claim between uses.
A canopy adds shade but also takes space and creates mounting and operating questions. Check the model list, attachment system, packed dimensions and restrictions in the manufacturer's instructions. Do not assume a storage cover is an underway canopy, or that a canopy can remain fitted whenever you use the boat.
How your boat type changes the accessory choice
| Your starting point | Prioritize | Question to resolve first |
|---|---|---|
| Soft-floor recreational inflatable | Supplied inflation and rowing equipment, compact storage, maker-approved fittings | Where can gear be secured without adding an unsupported floor or mount? |
| Air-floor dinghy | Correct chamber inflation, protective stowage and approved seating | What are the separate floor and tube requirements? |
| Sectional hard-floor dinghy | Assembly routine, carrying burden, approved transom and bench attachments | Will accessories obstruct floor removal or make launch handling impractical? |
| RIB or regularly rigged tender | Builder-approved permanent mounts, organized systems and service access | Which structure and concealed systems must be checked before installation? |
Our inflatable fishing boat comparison shows how floor, carrying burden and motor arrangements differ between existing reviewed boats. Use the Intex Excursion 4 review, BRIS 10.8 review or Newport Dana review to check the starting boat before choosing add-ons.
Three example accessory setups
These are planning examples, not complete safety inventories or guaranteed compatible shopping lists. First check the boat safety equipment guide and current requirements for the trip. The U.S. Coast Guard says recreational vessels generally need an approved, serviceable wearable life jacket of the correct size for every person aboard, and recommends wearing it underway. Other equipment requirements depend on the vessel and waters.
Occasional calm-water outing
Start with the supplied pump and oars, prescribed inflation check, compatible repair kit and a small secured personal bag. Check what is included before buying duplicates. Leave optional electronics and heavy seating until a trial outing demonstrates a need.
Compact fishing setup
Add controlled rod storage, a small tackle container, a reachable landing net and an approved mounting system if needed. Plan sonar only after resolving its display, transducer, cable and power arrangement. Preserve room to row and reach emergency gear.
Regular tender use
Prioritize reliable inflation, practical boarding and docking, secure bags and the approved propulsion setup. Assess the carry or launch route and storage cover. Favor equipment that is quick to remove, rinse, dry and stow between trips.
Common accessory-buying mistakes
- Buying duplicates: check the supplied pump, oars, seats and fittings first.
- Reading “universal” as approval: verify the exact valve, model, material and mounting system.
- Using passenger count as spare capacity: include people, propulsion, power supply and every accessory in the load assessment.
- Choosing the holder before its base: resolve the attachment point and installation before buying the adjustable part.
- Forgetting packing and drying: permanent fittings or bulky hardware can complicate the routine that made the inflatable appealing.
- Filling the floor: access to oars, controls, boarding space and emergency gear has priority over another gadget.
Inflatable boat accessory buying checklist
Save this checklist or print it before ordering:
- □ Record the exact boat model, tube material, floor and valve.
- □ Inventory the included equipment and identify one real gap.
- □ Confirm the boat and accessory manufacturer's compatibility instructions.
- □ Check attachment, clearances and any required installation approval.
- □ Add the accessory's weight and power equipment to the planned total load.
- □ Check access to oars, controls, boarding and emergency equipment.
- □ Measure the available storage space with the normal crew layout.
- □ Plan removal, rinsing, drying and packed storage.
- □ Review current safety requirements for the boat, activity and water.
- □ Buy the simplest compatible option that solves the identified problem.
Frequently asked questions
What accessories do you need for an inflatable boat?
Start with the safety equipment for your people, boat and waters, the correct inflation equipment, the prescribed pressure check, suitable oars or paddles and manufacturer-compatible repair supplies. Add storage, fishing equipment and launch aids only where they solve a real need and fit the boat.
Are inflatable boat accessories universal?
No. Valve types, tube materials, floors, benches, transoms and mounting points vary. Check the exact boat and accessory instructions, even when a listing uses the word universal.
Can you use a SUP pump on an inflatable boat?
Only when its valve adapter, pressure control, operating range and power arrangement match the exact boat instructions. A high maximum PSI does not establish compatibility or the correct inflation pressure.
Can you add rod holders to an inflatable boat?
Use an existing factory fitting or a mounting system approved for the boat and material. Do not clamp a rail holder onto a soft tube. Check the base, adhesive or hardware requirements before buying the holder.
Can you fit launch wheels to any inflatable dinghy?
No. The transom must be approved for the wheel installation, and the mounting position must clear the motor, drains and other fittings. The wheel set rating alone does not approve the boat structure.
Which inflatable boat accessories are useful for fishing?
Compact tackle storage, controlled rod storage, a reachable landing net and suitable dry storage are useful starting points. A fish finder needs a complete approved mounting, transducer, cable and power plan. Keep rowing room and emergency access clear.
Sources and editorial method
This guide combines manufacturer documentation with practical editorial planning questions. It is research-based; we have not claimed hands-on testing of these accessories. Product examples explain features or fit limits, not universal compatibility. Sources checked November 12, 2026. Follow the manual and label supplied with your exact equipment.
- Newport: foot pump valve and pressure specifications
- Newport: boat manuals and installation instructions
- Sea Eagle: accessory pad features and compatibility exclusions
- Intex: motor-mount kit and compatible boat models
- U.S. Coast Guard: recreational boating equipment FAQ