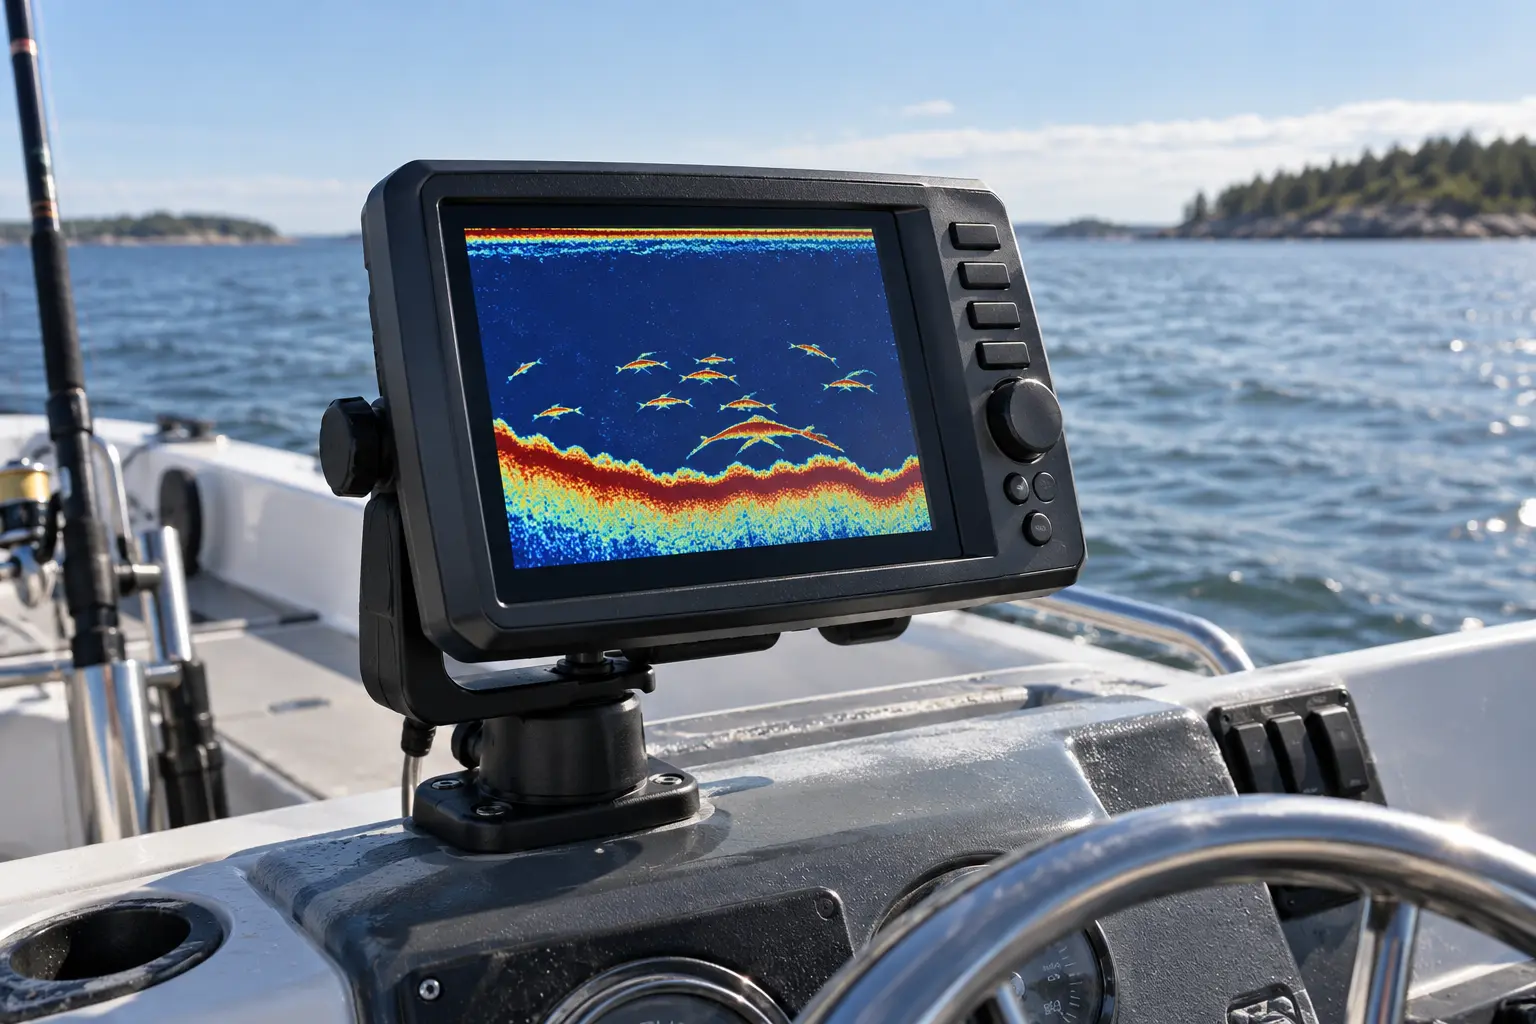
Choose a fish finder from the transducer and installation outward—not from the biggest screen or longest feature list. First define the water, depth, fishing style, helm space and electrical system. Then select the sonar views, GPS and mapping functions that solve those specific needs.
Quick answer: What should a beginner look for in a fish finder?
Start with readable traditional or CHIRP sonar, GPS, suitable mapping for your water, a display that fits the helm, and a compatible transducer that can be installed correctly on your hull. Add down imaging, side imaging, networking or live sonar only when the fishing method and boat can use them.
1. Define the water and fishing job
A unit for shallow freshwater structure fishing does not need the same priorities as offshore use, deep trolling or a portable setup. Write down:
- Freshwater, saltwater or both
- Typical and maximum depth
- Whether you mostly drift, troll, cast or run between spots
- Need for lake maps, coastal charts or simple GPS waypoints
- Whether the display must be removable for storage or security
- Available helm space, mounting surface and viewing distance
- Existing battery bank, wiring and other electronics
This turns the purchase from “Which fish finder has the most features?” into “Which system shows the information I need and can be installed correctly?”
2. Understand the main sonar choices
| Feature | What it helps show | Tradeoff |
|---|---|---|
| Traditional 2D sonar | Depth, bottom shape, suspended targets and a history beneath the boat | Interpretation takes practice; presentation depends on settings and movement |
| CHIRP sonar | Uses a range of frequencies and can improve target separation and detail with compatible hardware | Performance depends on the transducer, frequency range and installation |
| Down imaging | Structure-like detail in a narrow view beneath the boat | Not a replacement for every traditional-sonar task |
| Side imaging | Searches water and structure beside the boat | Requires suitable transducer placement and benefits from adequate screen space |
| Live or forward-facing sonar | Near-real-time views in a selected direction | Higher cost, added hardware, power demand and installation complexity |
Humminbird’s current selection guidance describes CHIRP as useful for improved target separation and distinguishing individual fish from structure. That is a feature explanation, not proof that every CHIRP product fits every boat. Compare the included transducer and supported frequencies, not the word “CHIRP” alone.
3. Decide whether you need GPS and mapping
GPS can mark a launch, hazard, structure or productive spot and show speed and position. Mapping adds charts or lake maps, but coverage and detail differ by product, region and subscription. Confirm the exact water is included before purchasing.
- GPS without detailed maps: useful for waypoints and basic position awareness.
- Built-in mapping: may cover common lakes or coastal areas, but check the current coverage list.
- Map-card support: useful when a compatible regional card provides the needed water.
- User mapping: can create or refine personal depth data where supported, but it does not replace official navigation information.
A fish finder or chartplotter is an aid. It does not remove the need for proper navigation, current official information, a lookout or judgment.
4. Fit the screen to the helm and viewing distance
A larger screen helps when showing split views—such as sonar and mapping—but it costs more, uses more space and may draw more power. Measure the available width, height, cable clearance, cover removal and sightlines. Sit or stand where you normally operate the boat and check whether the display can be read without blocking controls or forward visibility.
Compare usable resolution as well as diagonal size. Brightness, viewing angle, buttons versus touchscreen operation, glove use and water on the display also affect day-to-day usability.
5. Treat the transducer as part of the system
The transducer creates and receives the sonar signal. It must support the desired sonar modes and work with the display. Mounting options can include transom, in-hull, through-hull and trolling-motor arrangements, depending on the product and boat.
Transom mounting is common on small powerboats, but water flow, hull shape, strakes, steps, propeller turbulence and trailer bunks can affect the location. Garmin’s installation guidance says the device must be installed according to its instructions and recommends a qualified marine installer; its safety information also warns owners to check the opposite side before drilling or cutting.
- Confirm compatibility between display, sonar module and transducer.
- Check whether all advertised views work with the included transducer.
- Verify hull material and deadrise requirements.
- Plan cable routing without sharp bends, pinch points or interference.
- Confirm the transducer will not be damaged by the trailer, lift or storage method.
6. Plan power, wiring and networking
Check the manufacturer’s current-draw range, voltage requirements, fuse or breaker instructions and wire-size guidance for the actual cable run. Do not connect a fish finder by tapping an unrelated circuit or increasing a fuse because the unit resets.
If the boat also runs pumps, lighting, radios or a trolling motor, list every load and identify which battery bank serves it. Use the battery runtime calculator for a starting estimate and the boat-battery charging guide for chemistry-aware charging basics.
Networking matters only when you have—or plan to add—compatible displays, radar, engine data, transducers or other sensors. Buy for a realistic expansion plan, not a hypothetical future system.
7. A practical beginner selection path
| If your priority is… | Start by comparing… | Verify before buying |
|---|---|---|
| Simple depth and fish finding | Traditional/CHIRP sonar, clear display, GPS option | Included transducer and depth range |
| Finding structure beneath the boat | CHIRP plus compatible down imaging | Mounting and supported frequencies |
| Searching shorelines and flats | Side imaging plus GPS/map view | Transducer clearance and screen space |
| Trolling and returning to spots | GPS, mapping, waypoints and readable sonar | Chart coverage and helm visibility |
| Portable or small open boat | Compact removable display and suitable portable transducer/power setup | Secure mount, waterproofing and battery containment |
Common mistakes to avoid
- Buying a display before confirming the transducer and installation location
- Assuming a map includes every local lake or coastal area
- Choosing a screen that blocks controls or cannot be read from the operating position
- Ignoring power draw, wire length and circuit protection
- Expecting sonar icons to identify fish with certainty
- Installing near turbulent water or where a trailer bunk can strike the transducer
- Drilling without inspecting the back of the surface
Fish-finder reviews are coming after compatibility checks.
Future product pages will separate display features, included transducers, mapping and installation requirements instead of ranking units by marketing claims.
Frequently asked questions
What size fish finder is best for a small boat?
Choose the largest display that remains readable from the normal operating position without blocking sightlines, controls or movement. Measure the helm and viewing distance before comparing sizes.
Do beginners need side imaging?
Not always. Traditional or CHIRP sonar plus GPS may cover depth, bottom and navigation needs. Side imaging helps search water beside the boat, but adds cost, screen complexity and specific transducer requirements.
Can I install a fish finder myself?
Some installations suit experienced owners who follow the exact manuals, but drilling, sealing, wiring, fusing and transducer placement can damage the boat or produce poor performance. Manufacturers may recommend a qualified marine installer.