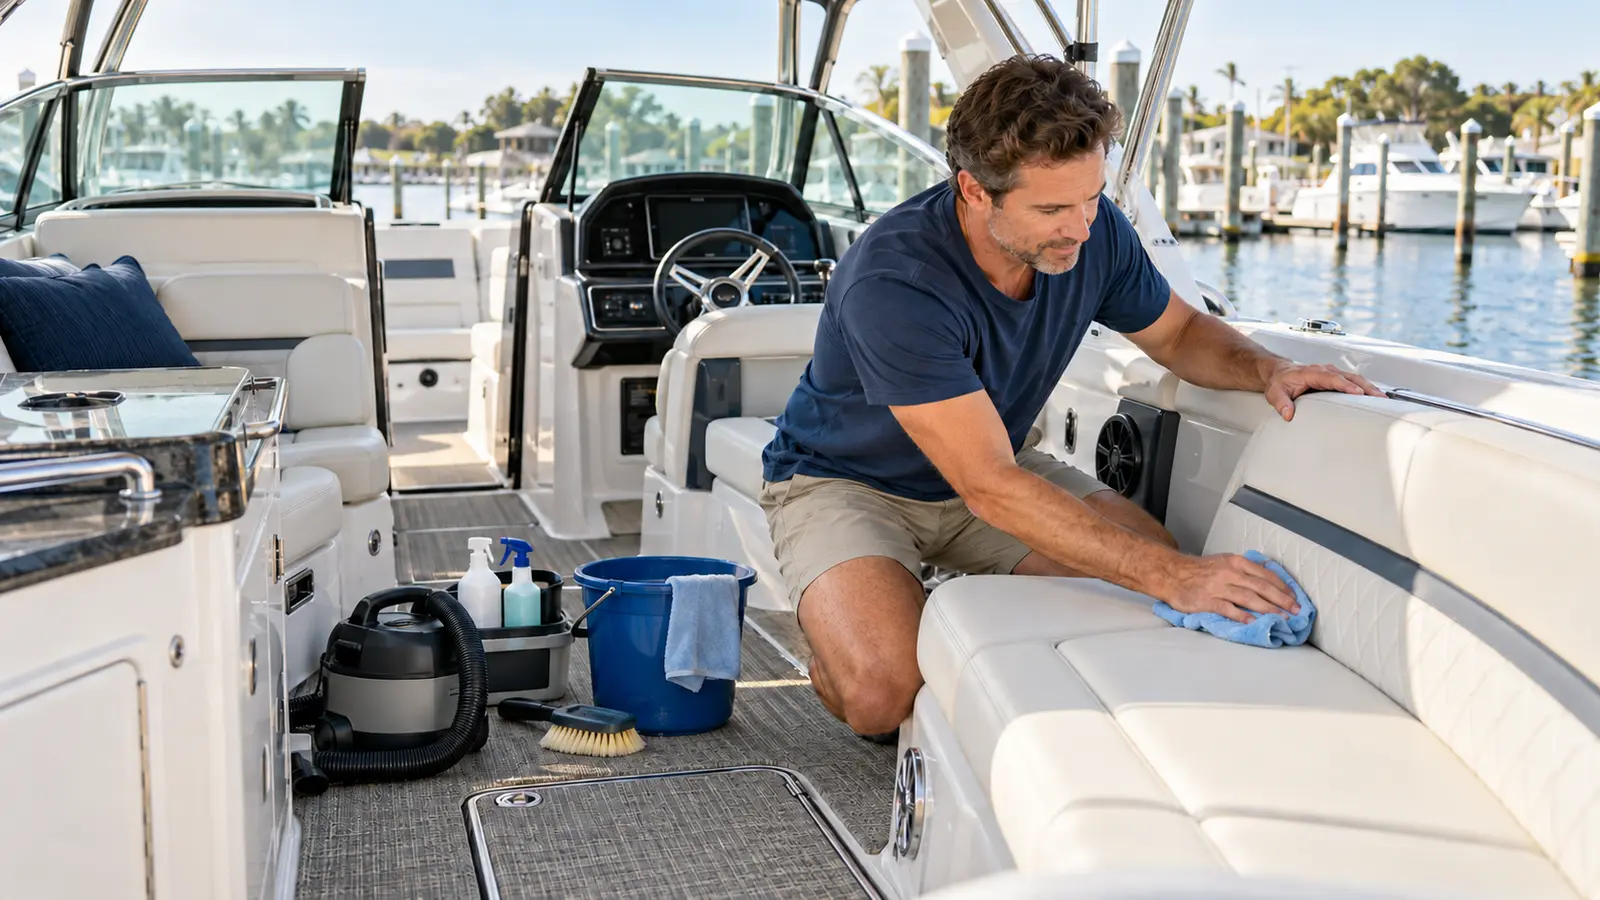
Editorial image of a generic boat-interior cleaning setup. The instructions for the exact boat, fabric and equipment take priority.
The safest way to clean a boat interior is to work from dry to damp and from clean areas to dirty ones. Empty and inspect each zone, vacuum grit before wiping, identify every material, test the mildest compatible cleaner in a hidden spot, and keep spray away from electronics and seams. Finish by removing residue and drying cushions, lockers and flooring before the boat is closed or covered.
Quick answer: clean a boat interior in this order
- Ventilate the boat and stop if you find fuel odor, sewage, active leaks or extensive mold.
- Remove gear, cushions and loose mats only as their instructions allow.
- Vacuum or brush away grit from high surfaces down to the floor.
- Clean hard panels, then windows, vinyl, fabric and flooring with material-specific products.
- Power down helm equipment and wipe it with the method approved by each manufacturer.
- Clean lockers, the galley and the head without mixing chemicals or flooding drains.
- Dry every seam and compartment, then recheck for odor or returning moisture.
Prepare the boat before cleaning
Open the boat only when it is secure and weather permits. Follow the owner’s manual for ventilation, battery switches, access panels and removable cushions. Never assume a battery switch removes power from every circuit. Stop and get qualified help if there is a fuel smell, a hot electrical connection, damaged wiring, sewage outside the sanitation system, rising water or mold spread behind panels.
Photograph the layout before removing gear. Keep required safety equipment accessible and preserve labels, wiring routes and ventilation openings. Bag personal items separately so a damp line, life jacket or towel does not go back into a clean locker.
If you are building the equipment set from scratch, the boat cleaning tools guide explains how to keep glass, interior, exterior and dirty-work tools separate.
Choose boat interior cleaning products by material
A short kit is safer than a box of strong chemicals. Useful boat interior cleaning supplies include a vacuum with suitable attachments, soft brushes, several color-coded microfiber cloths, clean water, absorbent towels, gloves required by the product label and separate manufacturer-approved cleaners for the actual surfaces aboard.
| Surface | Start with | Avoid unless specifically approved |
|---|---|---|
| Marine vinyl | Loose-dirt removal, water and a vinyl-compatible cleaner | Solvents, undiluted bleach, harsh abrasion and saturating seams |
| Fabric or canvas | Vacuuming, spot treatment and the fabric maker’s method | Universal stain recipes, hot drying and aggressive scrubbing |
| Marine carpet or woven flooring | Dry vacuuming and a flooring-approved cleaner | Flooding the backing, leaving soap or closing the boat damp |
| Finished wood, laminate or fiberglass panels | Soft cloth and a finish-compatible mild cleaner | Strong solvent, abrasive powder and standing water at edges |
| Acrylic or polycarbonate glazing | Rinse loose grit, then use the glazing maker’s approved method | Ammonia, paper towels and dry rubbing unless the maker allows them |
| Displays, switches and audio equipment | Power down and use the equipment manual | Direct spray, compressed air into openings and wet seams |
Do not combine products in one bottle or bucket. Bleach, ammonia, acids, solvents and descalers can create hazardous reactions or damage nearby materials. When the boat maker and the material supplier give different advice, pause and confirm the instructions for the exact installation.

Better Boat Boat Scuff Erasers, 3-Pack
Useful for: localized scuff marks on a surface the boat and product makers identify as compatible, after loose grit has been removed and a hidden-area test looks acceptable.
Limitation: the foam is micro-abrasive. It is not a universal interior cleaner and can be the wrong choice for delicate coatings, gloss finishes, screens or unknown materials.
Go to review pageThe review covers the verified three-pack identity, water-activated use and surface cautions.Remove dry debris before using liquid
Sand is abrasive. Food crumbs and hair become harder to remove after they are wet. Start at the headliner and upper shelves, then work down to seat creases and the sole. Use a soft brush to lift debris from stitching, tracks and corners while the vacuum nozzle stays just above delicate fabric.
Inspect the vacuum attachment for sharp edges. Keep it away from exposed wiring, loose trim and switch boots. If a carpet edge or headliner is separating, stabilize the area rather than pulling it farther loose. Empty the vacuum before moving from a moldy or contaminated area to a clean cabin.
Clean marine vinyl seats without soaking the seams
- Check the upholstery care label or boat manual and test the cleaner out of sight.
- Vacuum grit from piping, folds and seat bases using a soft attachment.
- Apply the approved cleaner to a cloth or soft brush, not directly into stitching or perforations.
- Work one small panel at a time with light pressure.
- Remove residue with a separate damp cloth if the product directions require it.
- Dry the face, piping, underside and mounting surface before replacing the cushion.
Stains from sunscreen, ink, denim dye and mildew do not all respond to the same treatment. Escalating pressure or chemistry can remove a protective finish before it removes the mark. Use the complete marine-vinyl seat cleaning guide for stain triage, mildew precautions and preventive care.
Clean fabric, canvas and curtains according to the label
Confirm whether the textile is removable, machine washable, solution-dyed acrylic or a different upholstery fabric. Colorfastness, backing, foam and water-repellent treatment can change the safe method. Vacuum first, then blot rather than spread a fresh spill. Work from the outside of a spot toward the center.
For Sunbrella marine upholstery specifically, the manufacturer’s current guidance starts with brushing off loose dirt, cleaning with mild soap and water as directed, rinsing thoroughly and allowing the fabric to air dry. That procedure is evidence for Sunbrella fabric, not a universal recipe for every boat textile. Follow the sewn-in label and exact fabric guidance aboard your boat.
Do not reinstall a cover over damp foam. Stand cushions on an edge where they cannot fall, allow airflow on both sides and inspect the deck or locker beneath them for the leak that caused the moisture.
Clean marine carpet and woven flooring without trapping water
Vacuum in overlapping passes, including under removable mats and around seat bases. Spot-test an approved flooring cleaner, then use the minimum moisture needed. Extract or blot the residue as the flooring maker directs. Repeatedly soaking carpet can move dirt into the backing, loosen adhesive and keep the subfloor damp long after the face feels dry.
For snap-in carpet, mark the orientation before removal. Support wet material instead of lifting it by one corner. Clean the deck below separately, clear drainage paths and let both surfaces dry before reassembly.
Wipe hard panels, cabinetry and trim gently
Dust first. Apply cleaner to the cloth and wipe with the grain or finish pattern. Keep liquid away from unsealed edges, fasteners, hinges, speaker grilles and ventilation openings. Follow with a clean cloth to remove residue. A glossy fiberglass liner may tolerate a different product than painted metal, laminate, veneer or finished wood.
Use a cotton swab or soft detailing brush only where it cannot shed fibers into a control or electrical opening. Do not pry trim or cabinetry apart to chase dirt. Loose hardware, swollen wood or lifting laminate points to a repair problem that cleaning cannot solve.
Clean acrylic, polycarbonate and glass as different materials
Identify the glazing before choosing a cleaner. Rinse or lift grit so it cannot scratch the surface. Use clean, very soft cloths and the exact cleaner approved by the window or enclosure manufacturer. Ammonia-based glass cleaner that works on household glass can damage some plastics, films or coatings.
Support flexible panels while wiping and avoid dry rubbing. Do not use an abrasive pad to remove haze. Clouding, crazing or deep scratches may require a manufacturer-approved restoration process or replacement rather than stronger cleaning.
Clean the helm and electronics without spraying them
Read the display, radio, switch and steering-equipment manuals. Power each device down through its normal procedure. Remove loose dust with a clean soft cloth, then put any approved cleaner on the cloth instead of the equipment. Wipe the screen lightly and keep moisture away from buttons, card slots, connectors, vents, microphone openings and the edges of protective films.
Do not assume that an IP rating makes direct spray or pressure washing acceptable. Do not open equipment housings or use compressed air into a seam unless the manufacturer explicitly directs it. If water has entered a display or switch panel, isolate and service it as the equipment and boat manuals require.
Clean lockers, the galley and the head as separate zones
Storage lockers
Empty the locker, vacuum debris, inspect the drain and wipe from the cleanest surface toward the bottom. Check the underside of the lid, hinges, gasket and hidden corners. If moisture returns, trace deck fittings, plumbing or condensation instead of masking the odor.
Galley
Shut appliances down as their manuals require. Separate food-contact surfaces from general interior panels and use only products suitable for each. Keep water out of igniters, electrical controls and ventilation openings. Clean refrigerator seals and dry the drain pan or channel if accessible and documented.
Head compartment
Use sanitation-system products approved for the toilet, hoses, seals and holding tank. Never mix toilet chemicals with bleach, ammonia, acids or another cleaner. Sewage outside the closed system calls for protective equipment, containment and possibly professional remediation.
Remove the cause of odor and mildew
| Odor or condition | Likely area to inspect | Next step |
|---|---|---|
| Musty after rain | Hatches, windows, covers, foam and lockers | Find water entry, clean compatible surfaces and dry the hidden layer |
| Sour near carpet | Wet backing, subfloor or trapped food | Lift removable flooring, clean and dry both sides |
| Fuel or solvent smell | Fuel system, stored chemicals or spill | Stop, avoid electrical operation and follow emergency guidance |
| Sewage smell | Head, hoses, vent, tank or fitting | Stop normal cleaning and inspect the sanitation system safely |
| Odor only when equipment runs | HVAC, pump, drain or electrical component | Shut the affected equipment down and diagnose the system |
Visible mildew on a small compatible surface may be handled only with the material maker’s method. Broad growth, repeated growth, contaminated porous material or mold behind panels needs professional assessment. Fragrance, ozone and fogging do not repair leaks, dry saturated foam or make an unsafe space ready for use.
Dry the interior before closing the boat
Remove standing water with absorbent towels and clear drains. Open lockers, lift cushions and ventilate as the boat and equipment instructions permit. A fan can help only when it is safe for the location and does not create an ignition risk. Recheck cushion undersides, carpet backing, hinges, hatch channels and the spaces beside the hull.
Do not install a tight cover over damp materials. Review the covers and storage guidance for support and ventilation, and add interior inspection to the boat maintenance checklist. Persistent moisture needs a repair, not a shorter cleaning interval.
Interior-cleaning mistakes that cause damage
- Using one cleaner everywhere: vinyl, coated fabric, acrylic, wood and electronics can require different chemistry.
- Wiping before vacuuming: trapped grit becomes an abrasive.
- Spraying the helm: liquid can enter seams, switches and ports.
- Soaking cushions or carpet: the face may dry while foam or backing stays wet.
- Scrubbing stains harder: pressure can change gloss, texture or protective coating.
- Mixing chemicals: incompatible products can create harmful vapor and material damage.
- Closing the boat too soon: trapped humidity brings odor and mildew back.
Check the Scuff Erasers review before using abrasion
The review explains what the manufacturer says, the verified pack identity and why a hidden-area test matters. Use it for a narrow scuff-removal decision, not as a replacement for the surface-specific cleaning sequence above.
Go to review pageBoat interior cleaning checklist
- Fuel odor, sewage, active leaks, hot wiring and extensive mold were ruled out or referred.
- Loose grit was removed before any surface was wiped.
- Every cleaner matched the exact material and passed a hidden-area test.
- Helm electronics were powered down and never sprayed directly.
- Vinyl seams, cushion foam, carpet backing and locker corners are dry.
- No cleaner residue or standing water remains in a drain or compartment.
- Removed gear is dry, clean and returned without blocking safety equipment.
- The cover will not trap moisture and every temporary electrical change was restored.
For exterior surfaces, decks and the engine exterior, continue with how to clean a boat without damaging surfaces. If interior water has reached the lowest compartment, inspect and clean it with the separate bilge-cleaning procedure.
Boat interior cleaning questions
What is the safest way to clean a boat interior?
Identify each material, remove dry debris first, use the mildest compatible cleaner on a hidden test area, keep liquid away from electrical openings, remove residue and dry seams and compartments completely.
Can you use household cleaners inside a boat?
Not automatically. A household cleaner may discolor vinyl, cloud acrylic, damage coatings or leave residue. Use the cleaner and concentration approved by the boat, material or equipment manufacturer.
How do you clean around boat electronics?
Power equipment down as its manual directs, remove loose dust with a clean soft cloth, apply any approved cleaner to the cloth rather than the device, and keep moisture away from seams, ports, vents and controls.
How do you remove a musty smell from a boat cabin?
Find and correct the moisture source, remove wet or contaminated contents, clean only compatible materials and dry hidden areas. Odor products cannot repair a leak or replace material that remains mold-contaminated.
Should you leave a boat open after cleaning?
Ventilate and leave lockers, cushions and access panels open only when the boat is secure and the manufacturer permits it. Do not close the cover until the interior, seams and compartments are dry.
Sources and editorial method
BoatOwner Hub checked manufacturer and U.S. environmental guidance on October 6, 2026. Model-specific boat, fabric, cleaner and electronics instructions take priority over this general sequence. Product placement is limited to one relevant published review, with no claim of hands-on testing, price, rating or performance.
- Sunbrella: How to Clean Marine Upholstery
- U.S. EPA: Nonpoint Source, Marinas and Boating
- Sea Ray: Documents and Owner’s Manuals
- Better Boat: Boat Scuff Erasers manufacturer information